Mel's kit clicks perfectly with ARAM's nonstop brawling—she packs AP burst, lockdown CC, and a passive shield that doubles as free damage. You'll need sharp positioning sense and good timing to make her work, but she's worth learning if you want a mid-range mage who can swing fights with one good root. Here's how to crush it on Howling Abyss with Mel, covering everything from her shield mechanics to why you shouldn't ult from across the map.
Mel's Abilities in ARAM Explained
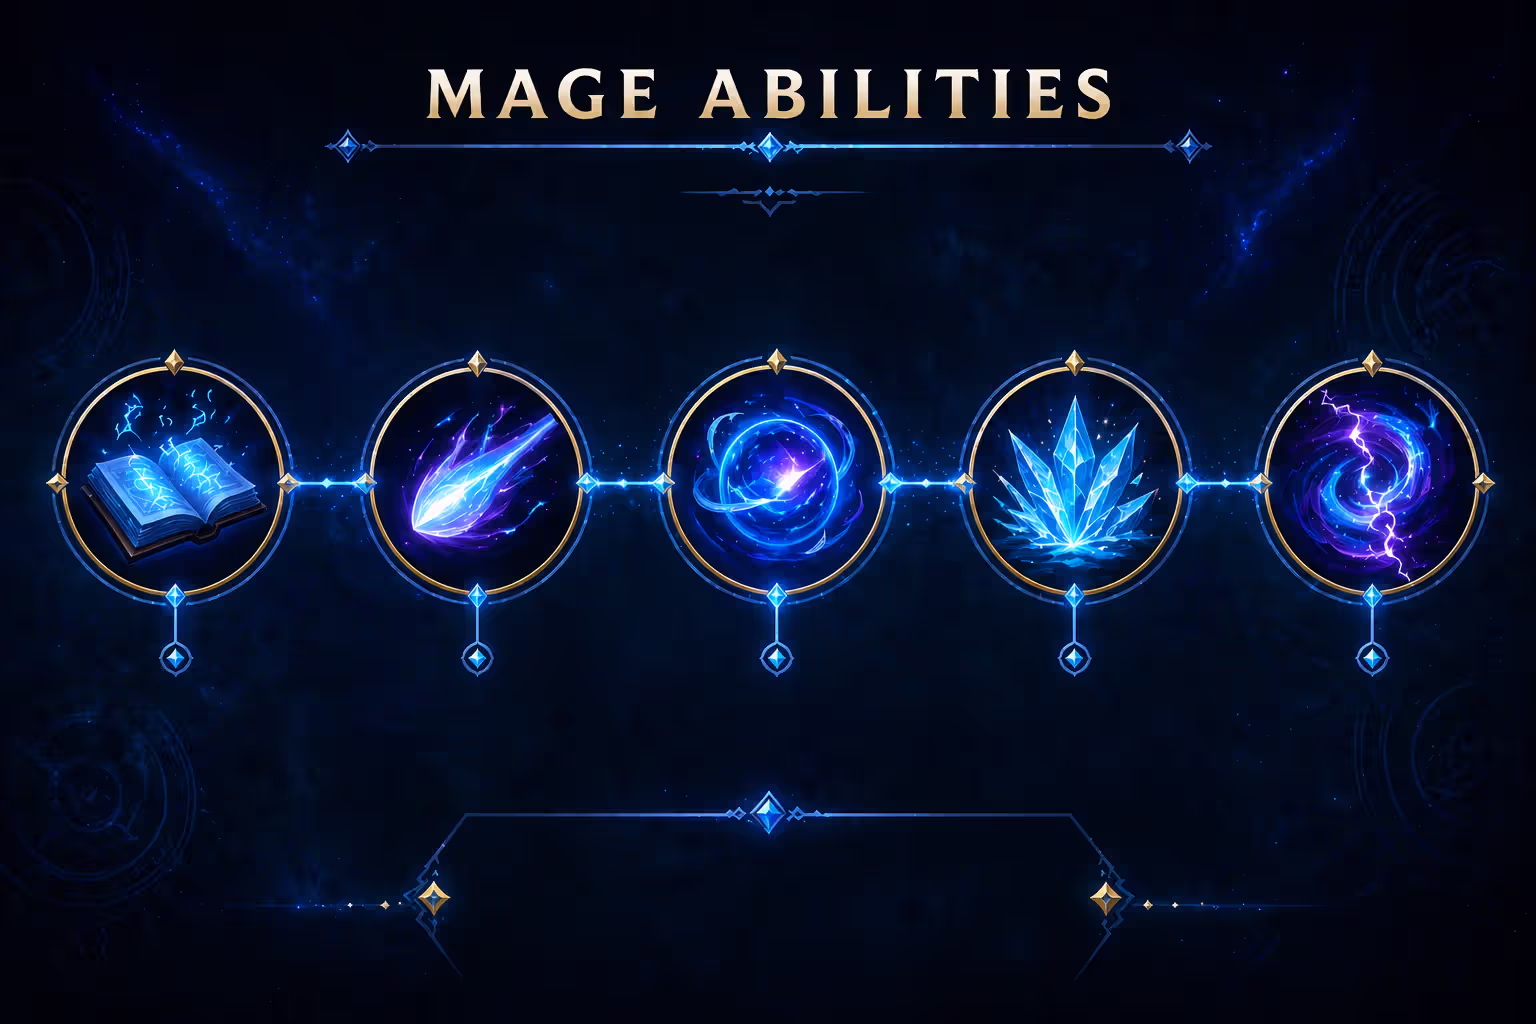
Before you worry about items or runes, you need to know what Mel actually does. Each ability has quirks that matter way more in ARAM than Summoner's Rift.
Passive – Furious Deflection: You've got a magic shield that soaks incoming damage. Once it breaks (or times out), it pops and hurts everyone nearby. The shield comes back after you avoid combat for a few seconds.
Q – Sparksplitter: Shoots a projectile that tags the first target. Hit that marked enemy with another ability? Free bonus damage.
W – Respect: Short dash with a speed boost. Your next auto attack within the window deals extra magic damage and cuts this ability's cooldown.
E – Red Honesty: Wind-up skillshot that roots everyone in a line. There's a delay before it fires, so enemies can see it coming.
R – Harsh Lesson: Big damage beam that slows. Stand closer to enemies when you fire this—the damage ramps up dramatically at short range.
How Mel's Magic Shield Works
Your passive shield separates players who occasionally win fights from players who consistently dominate them. It recharges automatically when nobody's hit you recently, giving you free defense in ARAM's endless poke wars. When it breaks—whether from damage or just timing out—it explodes outward and chunks nearby enemies.
ARAM fights don't give you much breathing room, so that shield's getting popped constantly. You won't have it up for every trade. But here's the thing: those small explosions stack up fast over a 15-minute game. If you're standing in the right spot when it pops, you're basically getting free Comet procs all game.
The shield scales with your AP, which means building damage also builds defense. Two-for-one deal. Smart opponents will try popping your shield with random poke before committing to real fights, so track when it's down and play safer during those windows. Between minion waves? You'll get it back. Mid-teamfight? Probably not.
Author: Tyler Vance;
Source: canelomobile.com
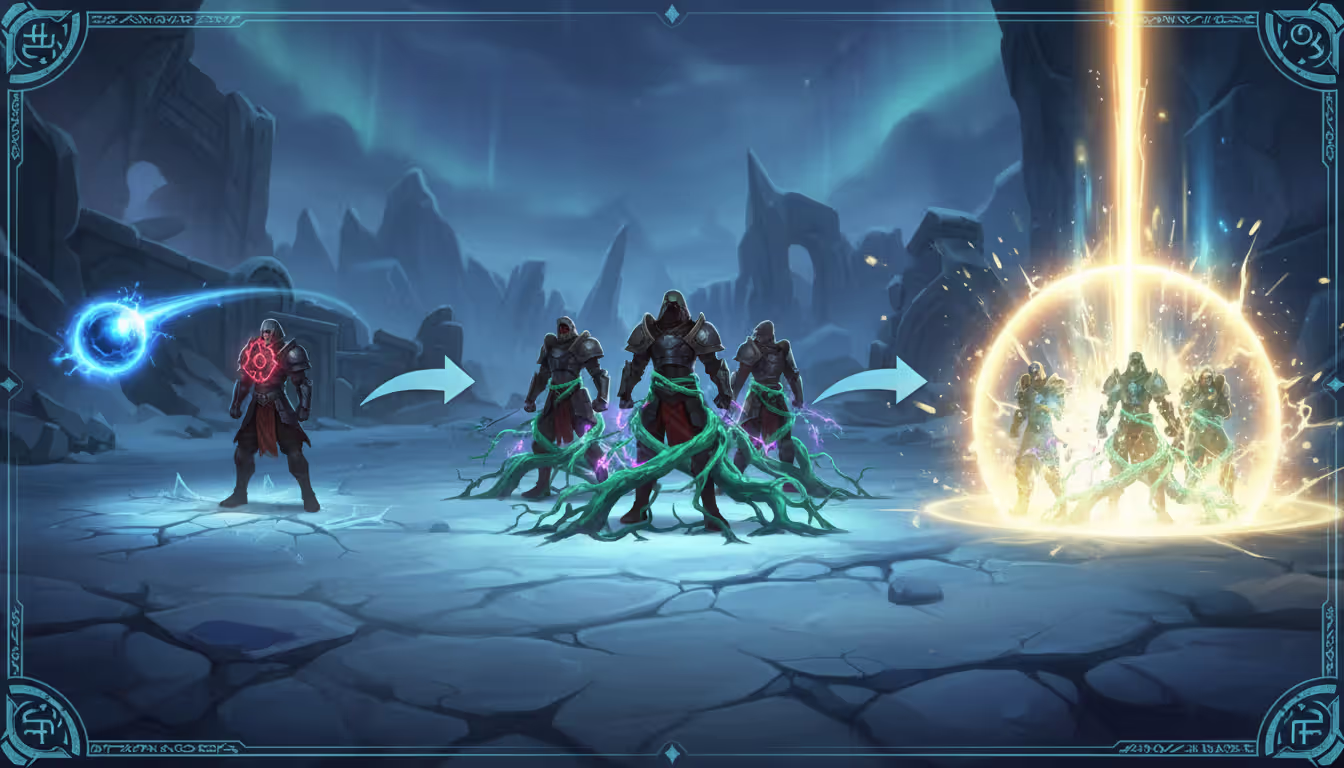
Ability Combos for Maximum Damage
Mel's damage spikes hard when you detonate those Q marks. Standard combo: Q first, then E to lock them down, then R while they're rooted. Guarantees your ult lands and procs the mark explosion. For quick trades? Q → W → auto gives solid damage while keeping you mobile.
Ability Priority: R whenever available, then max Q, then E, then W last. Your Q's your bread and butter—cooldown drops significantly per rank. E second gives you roots more often. W's just for movement, so one point's enough until late game.
In ARAM specifically, consider grabbing a second E point at level 4 if their comp has multiple divers. That extra root uptime saves your backline more than slightly higher Q damage saves you.
For all-ins, let someone else go first. Then follow up with E once enemies cluster. Drop R immediately after to catch the high-damage center beam on rooted targets. Save W for dodging or repositioning during the fight—you're way too squishy to initiate with it.
Author: Tyler Vance;
Source: canelomobile.com
Best Runes for Mel in ARAM
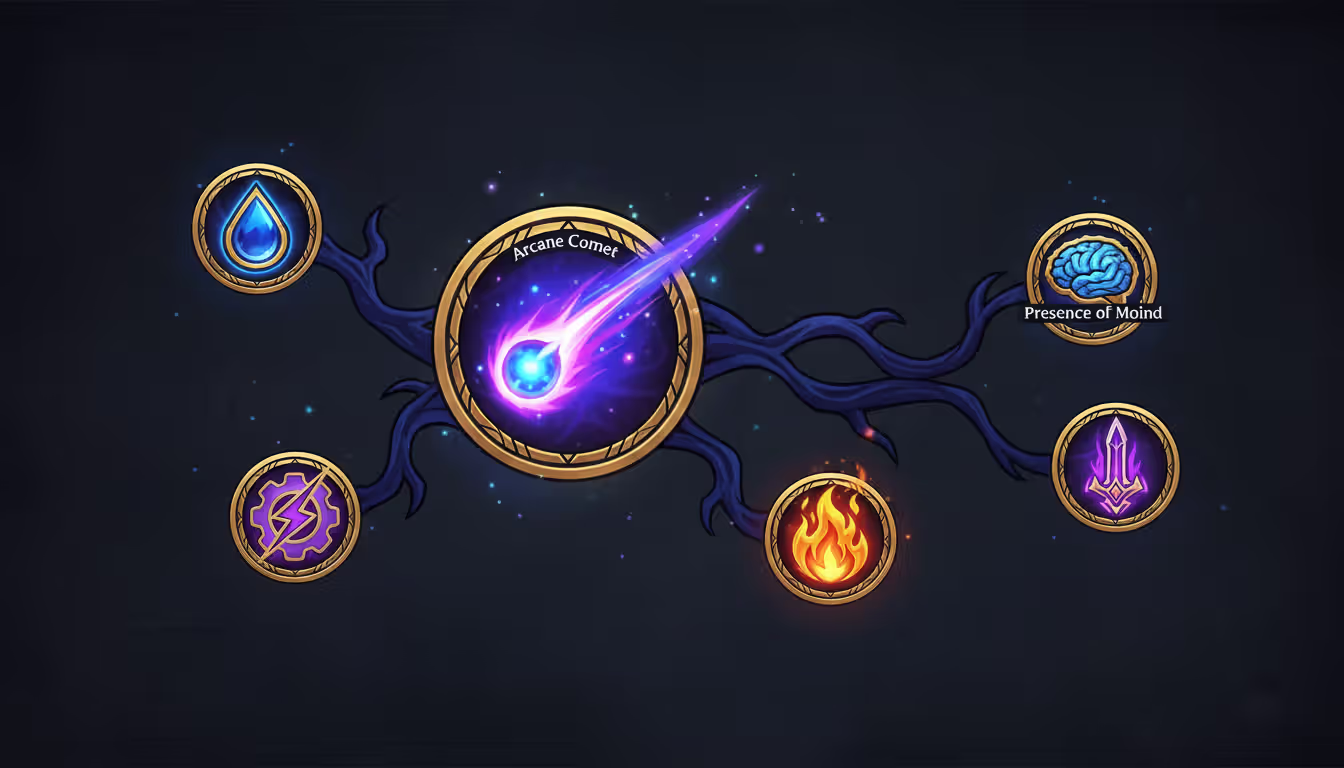
Primary Path – Sorcery: - Keystone: Arcane Comet – Your E guarantees it hits every time. Q's short cooldown means constant Comet procs. Beats other keystones for reliable poke in ARAM's tight quarters. - Manaflow Band – You're stacking this fast. No fountain trips in ARAM, so Manaflow keeps you casting through extended sieges. - Transcendence – More ability haste = more roots and more dashes. The level 8 spike smooths out your awkward mid-game. - Scorch – Extra poke damage wins early trades. Gathering Storm's an option if games regularly hit 25+ minutes, but most ARAMs end before it matters.
Secondary Path – Precision: - Presence of Mind – Mana problems? Gone. Every takedown refunds mana, and ARAM teamfights give you constant procs. - Coup de Grace – Helps execute low-health targets. Swap to Cut Down if they're stacking three or more tanks.
Stat Shards: Double Adaptive Force plus Armor or Magic Resist based on their comp. Four+ physical damage dealers? Armor. Otherwise Magic Resist.
You could run Dark Harvest if you're feeling spicy and confident in your KDA, but Comet's consistency wins more games. Trust me—I've tried both extensively.
Author: Tyler Vance;
Source: canelomobile.com
Optimal Item Builds for Mel ARAM
Starting Items
ARAM gives you 1400 gold at spawn. Your opening buy matters.
Standard Start: Lost Chapter + Boots + Control Ward. Chapter fixes early mana drain and builds into your mythic. Boots help you dodge stuff and land roots. Control Ward denies bush plays, which is huge on a one-lane map.
Aggressive Start: Hextech Alternator + Amplifying Tome + Boots. More immediate damage if your mana management's clean and you want early fight pressure.
Core Build Path
First Item: Luden's Companion – Your mythic. Burst damage, magic pen, movement speed. The proc helps waveclear and adds real damage to combos. Perfect synergy with poke-heavy ARAM playstyle.
Second Item: Sorcerer's Shoes – Magic pen boots shred squishies. Merc Treads only if they've got oppressive CC and you're getting chain-locked.
Third Item: Shadowflame – Increases burst against shields and low-health targets. Stacks magic pen with Luden's and Sorcs, letting you ignore early resistances.
Fourth Item: Zhonya's Hourglass – Stasis active saves you from assassins. ARAM fights get messy, and Zhonya's is basically a second life when they dive you.
Fifth Item: Void Staff – By now enemies have MR. Void's percentage pen keeps your damage relevant.
Sixth Item: Rabadon's Deathcap – AP amplification scales everything including your shield. Final power spike.
Situational Items
Banshee's Veil – Swap for Zhonya's against critical skillshots (Ashe arrow, Blitz hook). Spell shield prevents game-losing catches.
Morellonomicon– Build second or third if they've got serious healing (Soraka, Mundo, multiple lifestealers). Your abilities spread Grievous Wounds easily.
Cosmic Drive – More haste and movement speed. Consider this if you value frequent abilities and kiting over raw burst.
Mel ARAM Build Comparison
Build Type
Core Items
Strengths
When to Use
Burst Damage
Luden's → Shadowflame → Rabadon's → Void Staff
Deletes squishies instantly; massive Q + R damage
Enemy team has 3+ ranged carries; you can safely land full combos without getting collapsed on
Consistent damage through long fights; melts tanks slowly
They've got 2+ beefy frontliners; fights regularly last 12+ seconds
Tankier Bruiser
Rod of Ages → Zhonya's → Banshee's → Morello → Void Staff
Way more survivability; decent damage; longer fight presence
Dive-heavy enemy comp; your team lacks frontline; you're forced to absorb pressure
Burst wins most games because ARAM favors quick picks and snowballing off advantages. Sustained DPS becomes necessary against tank-stacked comps. The tankier build's niche but valuable when your team's all squishies and someone needs to absorb cooldowns.
Mel ARAM Playstyle and Positioning Tips
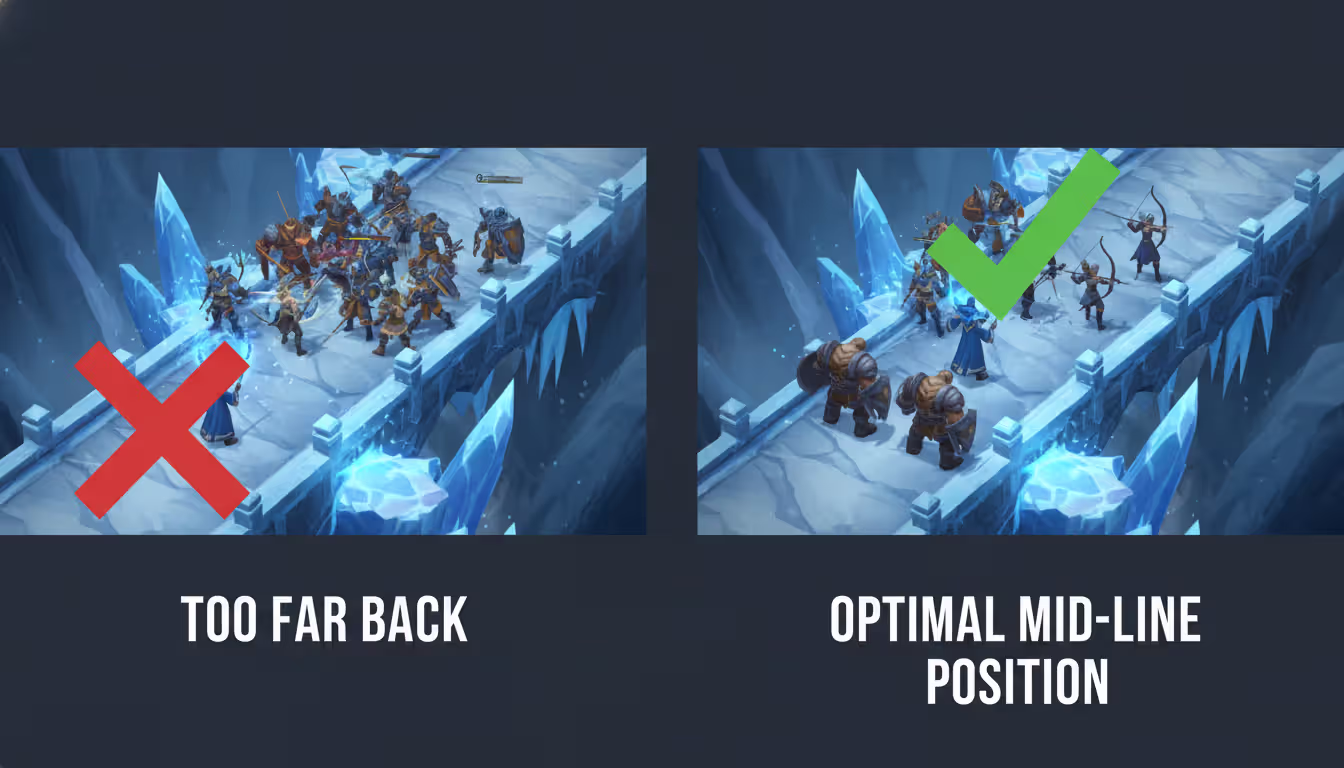
Mel sits in the mid-range zone—not frontline engage, not backline artillery. Position between your tanks and carries. Close enough to threaten roots, far enough back to avoid getting jumped.
Poke Phase: Before fights pop off, spam Q for harassment and Comet procs. Don't burn E for poke damage—that's your fight-winner. Soften up enemies and force health relic usage before real skirmishes. Target carries with Q, not tanks. Create pressure on their backline.
Team Fight Execution: Someone else engages first. When enemies bunch up or commit, throw E for multi-target roots. Immediately follow with R, catching rooted enemies in the beam's sweet spot. W lets you dodge incoming stuff or angle better ults.
Your shield's popping multiple times in extended brawls. Don't treat it as primary defense—it's bonus damage plus a small buffer. Position so the explosion actually hits champions, not empty air.
Engage Timing: You can start fights with a great E, but it's risky. You're too valuable to die first. Let tanks or bruisers go in, then layer your CC and damage when enemies have already burned gap closers.
Common Positioning Mistake: Staying too far back. Lots of Mel players treat her like Xerath with 2000-range poke. She's not. Her effective range is medium. If you're always max distance, your E becomes dodgeable and your R loses its high-damage potential. Find the sweet spot—threatening without being threatened.
Mel's strength in ARAM is turning one pick into a won fight. Land the root on their carry, suddenly it's 5v4. Too many players waste E on tanks or chuck it on cooldown. Save it for high-value targets, and you'll win way more games
— Alex Chen
Mel Counters and Difficult Matchups in ARAM
Some champions make your life miserable. Knowing these threats lets you adjust playstyle and items.
Assassins (Zed, Talon, Qiyana): They delete you instantly. Rush Zhonya's second and play farther back than normal. Track cooldowns and never facecheck bushes. Bait their engage before stepping forward.
Long-Range Poke (Xerath, Ziggs, Vel'Koz): They outrange you massively and chip you down pre-fight. Grab early MR and look for flanks using W. You can't win poke wars against these guys—focus on engaging when they misposition.
Tanks with Sustain (Mundo, Maokai, Ornn): Your burst doesn't stick and they shrug off poke. Build Liandry's and Morello. Focus on protecting carries instead of trying to solo-kill these unkillable monsters.
Hard Engage (Malphite, Amumu, Leona): They force fights before you're ready and lock you down. Position extra carefully. Save W to dodge their engage. Multiple hard engagers on their team? Consider Banshee's to block one crucial ability.
High-Mobility Carries (Yasuo, Yone, Irelia): They dodge E easily and dive repeatedly. Throw your root where they're going, not where they are. Coordinate with teammates for layered CC—your root alone won't peel them.
When facing multiple counters, shift from carry mode to enabler mode. Peel for your carries with well-timed roots instead of hunting for hero plays.
Common Mistakes to Avoid When Playing Mel in ARAM
Using E on Cooldown: Your root's your most valuable tool. Don't chuck it randomly for poke. Save it for high-percentage moments: multi-target roots, catching priority targets, peeling divers. One missed E in a crucial fight often costs the game.
Ignoring Your Passive Shield: Track when it's active. Play aggressive with shield up, cautious when it's down. The explosion's free damage—position to hit enemies when it pops instead of wasting it on minions.
Building Identically Every Game: Mel's items need to flex. Rushing Rabadon's against three tanks is inefficient. Full damage against four assassins gets you killed repeatedly. Adjust based on what you're actually facing.
Face-Checking Bushes: ARAM bushes are death traps. Mel's too squishy to scout. Use abilities to check or let tanks go first. Face-checking loses games you should've won.
Ulting from Maximum Range: Mel's R deals way more damage up close. Players often fire from safety, cutting damage in half. Find angles where you can get closer without dying—the damage difference is huge.
Author: Tyler Vance;
Source: canelomobile.com
Frequently Asked Questions
Is Mel good in ARAM?
Mel's a solid A-tier ARAM pick. Her mix of poke, burst, and hard CC works in most team comps. She struggles against heavy dive and extreme long-range poke but dominates standard teamfights. Win rate sits around 51-52% for experienced players, which is above average for mages.
What summoner spells should Mel take in ARAM?
Flash is mandatory—your only reliable escape and lets you make aggressive plays. Second spell: Clarity if nobody else took it (mana sustain wins ARAM), otherwise Heal for survivability or Barrier against burst comps. Skip Snowball—it's worse than defensive options since you're not a primary engager.
How does Mel's passive work in ARAM?
Mel's passive gives her a magic shield that recharges out of combat. When it breaks or expires, it explodes for magic damage around her. In ARAM's constant fighting, the shield breaks frequently but rarely recharges mid-fight. The explosion's a nice bonus, but don't rely on the shield as primary defense. Scales with AP, so damage items increase both shield strength and explosion damage.
Should you build AP or tank items on Mel in ARAM?
Build mostly AP with one or two defensive items. Mel scales hard with ability power, and her base stats are too low for full tank builds. Typical build: 4-5 AP items plus Zhonya's or Banshee's. The tankier bruiser build (Rod of Ages into defensives) only works when your team desperately needs frontline and you're sacrificing damage for utility.
What is Mel's win rate in ARAM?
Mel maintains roughly 51.5% win rate in ARAM across all ranks currently. Win rate climbs to 53-54% among players with 20+ games on her, showing she rewards experience. Strongest in mid-ELO ARAM where players group predictably for teamfights.
How do you counter Mel in ARAM?
Dodge her E by moving unpredictably and using minions as shields. Assassins and divers counter her hard—if you've got a gap closer, wait for her W or E, then collapse. Long-range poke champions harass her safely since she needs to step forward for abilities. Spread out during teamfights to prevent multi-person roots. Pop her shield with poke before all-inning to reduce her effective health and damage.
Mel rewards spacing sense, cooldown tracking, and target selection. Success in ARAM depends on landing crucial roots at fight-deciding moments and flexing your build against enemy threats. Master her combos, position aggressively but safely, and enable your team instead of hunting solo carries. The gap between average and excellent Mel play? Patience. Wait for the right moment to commit abilities instead of spamming them. Practice E timing, track enemy cooldowns, and you'll impact games regardless of team comp.
Vault 22 stands as one of the most atmospheric and challenging locations in Fallout: New Vegas. This comprehensive guide covers all five vault levels, enemy combat strategies, key item locations, and the moral choices in There Stands the Grass quest
Planning your primogem budget in Genshin Impact requires more than luck—it demands strategy, patience, and accurate information about which characters are coming and when. With HoYoverse maintaining a steady release schedule through 2026, knowing the banner rotation helps you avoid regret
Thresh excels in ARAM with his versatile kit offering crowd control and playmaking. This guide covers optimal Aftershock runes, tank builds prioritizing Locket, hook prediction techniques in tight spaces, lantern coordination for saves and engages, and Flay combos for peel versus engage scenarios
The Open Hand Temple murder mystery in Baldur's Gate 3 requires careful investigation to identify the real killer. Learn how to find all clues, interrogate suspects correctly, and follow the trail to Ilessan Hills for the complete solution and best rewards
The content on this website is provided for general informational and educational purposes only. It is intended to explain concepts related to video games, gaming guides, builds, mobile gaming, multiplayer strategies, and gaming history.
All information on this website, including articles, guides, and examples, is presented for general educational and entertainment purposes. Gameplay outcomes, strategies, and performance may vary depending on player skill, game updates, and platform.
This website does not provide professional advice or guarantee game outcomes, and the information presented should not be used as a substitute for official game documentation or developer guidance.
The website and its authors are not responsible for any errors or omissions, or for any outcomes resulting from decisions made based on the information provided on this website.