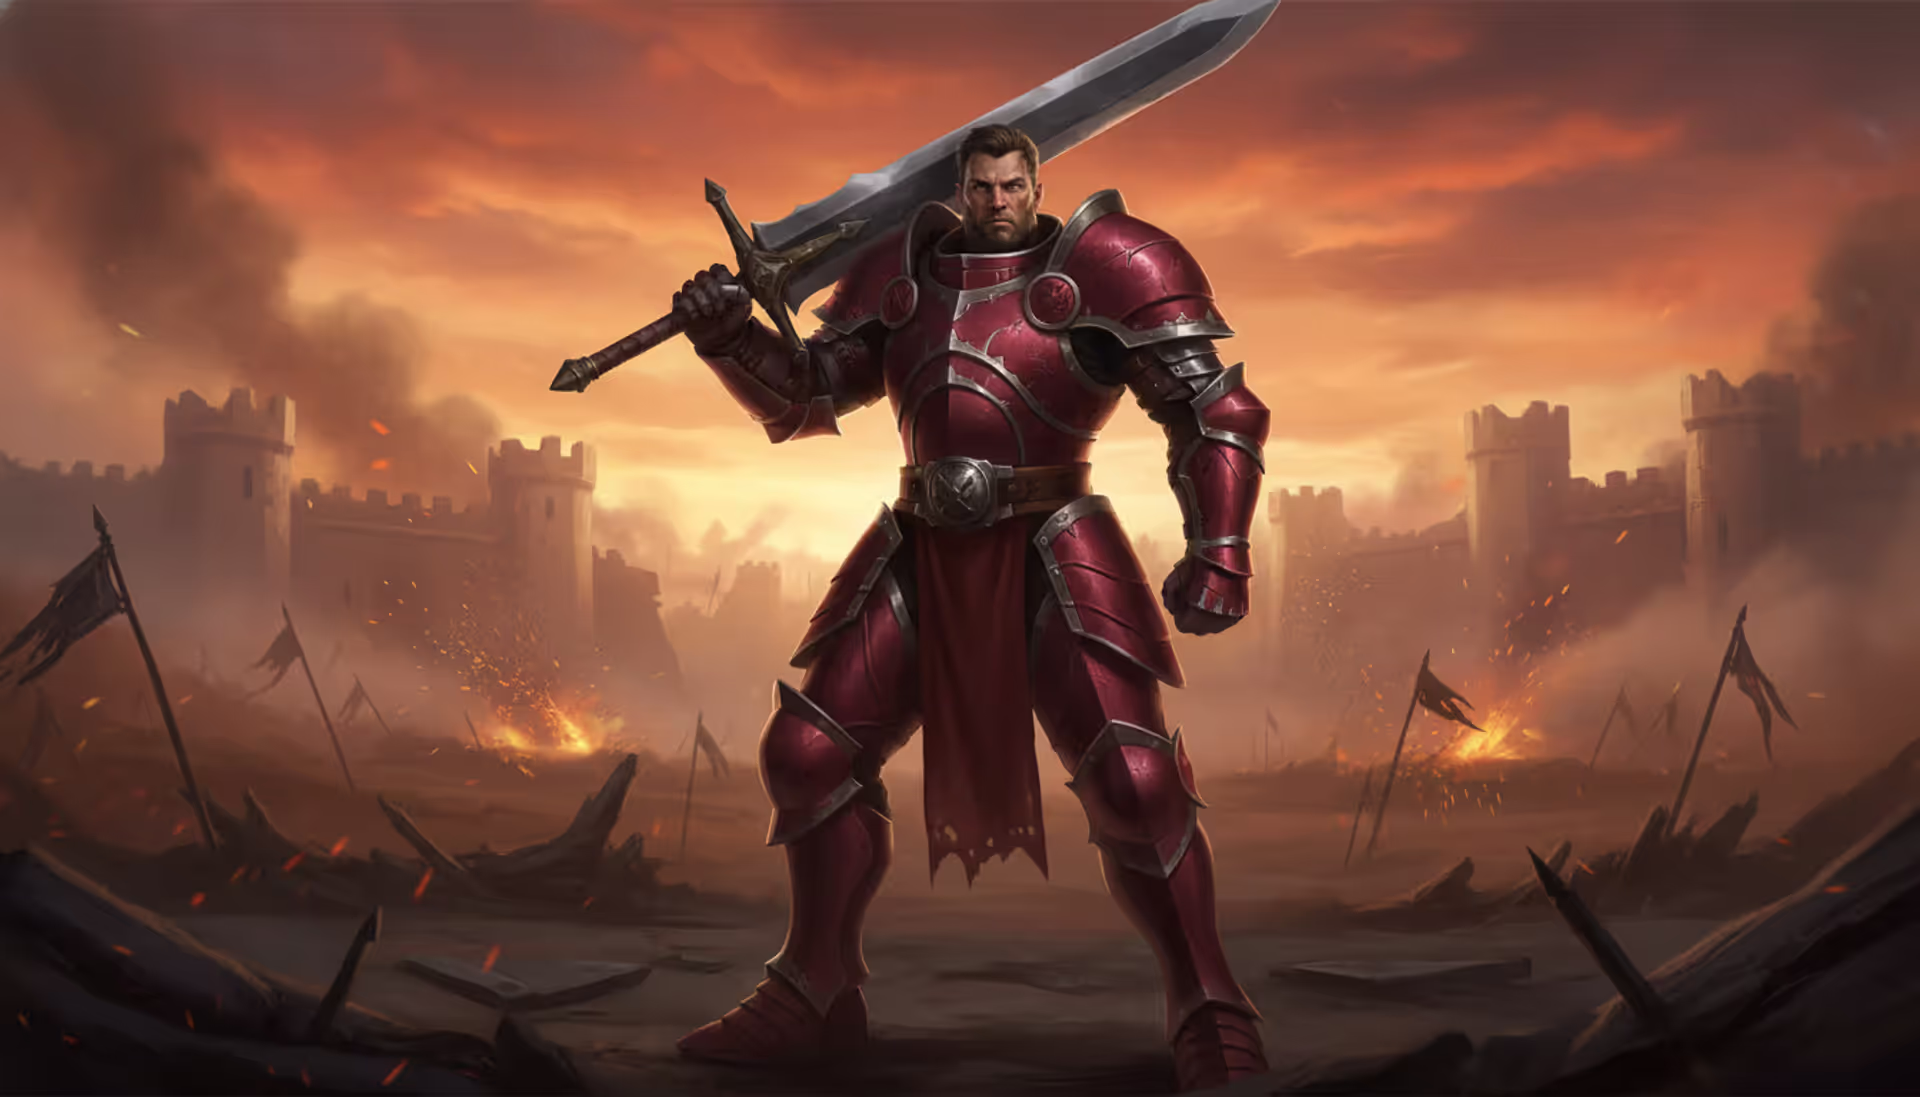
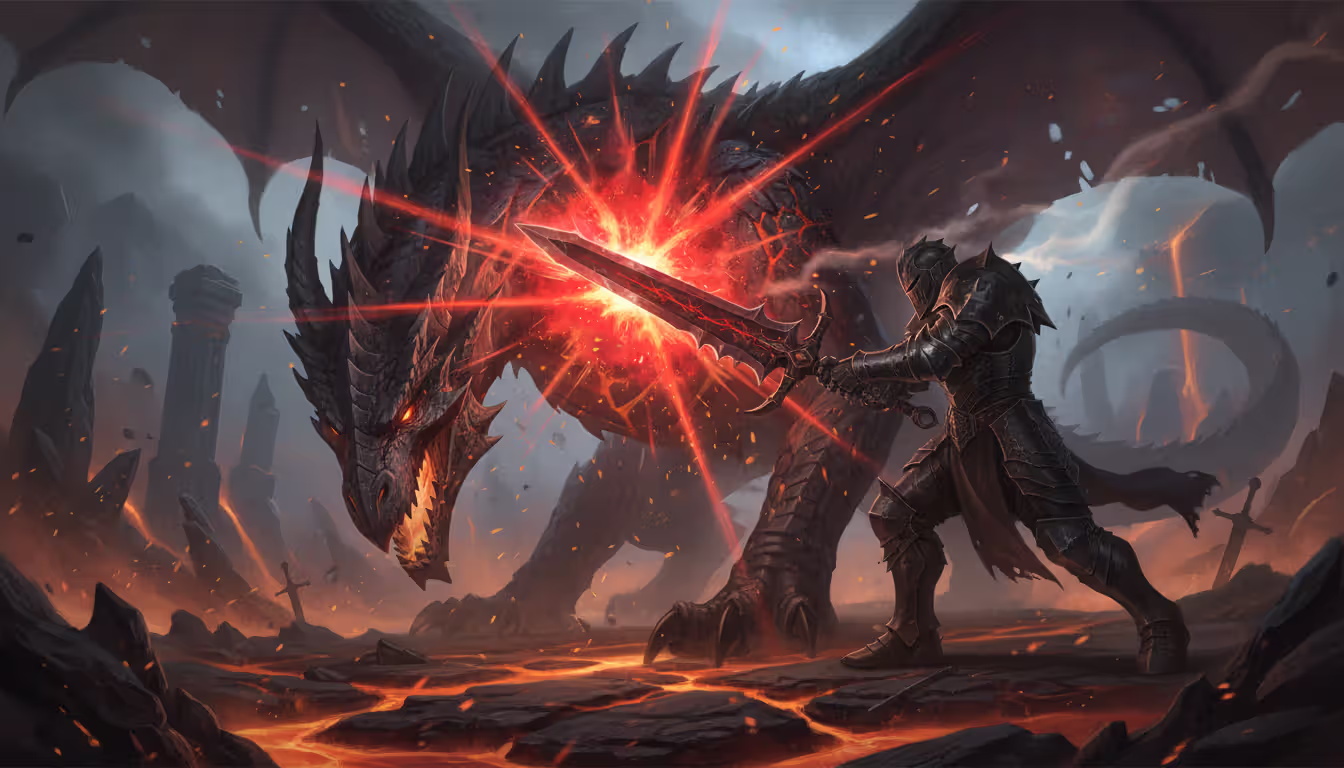
I've been maining Arms since Battle for Azeroth, and there's this specific rush when your Execute crits for 800k+ damage at sub-35% boss health. That feeling? Completely worth the grinding, the simming, the endless gear debates in Discord at 2 AM.
Here's what nobody tells you upfront: throwing on high item level pieces without checking stats is how you end up doing less damage than players 15 ilvls below you. Your talent choices for last Tuesday's raid might actively hurt your Mythic+ performance today. And if you're blindly following a rotation without understanding why certain abilities take priority, you're leaving massive damage on the table.
I'm breaking down the real optimization work for Arms Warriors in 2026. Raids, dungeons, arena—all of it. The specifics that actually move your parse percentiles or keystone timing success rates.
Understanding Arms Warrior Stat Priority
Here's the reality about stats: they're not interchangeable building blocks where more always equals better. Arms has nuance, and that nuance shifts depending on whether you're fighting a 12-minute raid boss or blasting through a 25-second trash pull.
Strength drives everything else. Your attack power calculation starts here. Every damaging ability you press—Mortal Strike, Overpower, Execute, even auto-attacks—scales from this number. The only time you'd consider wearing lower ilvl gear is when comparing tier set pieces against non-tier alternatives that are 20+ ilvls higher. Otherwise? Strength wins.
Your secondary stats need context:
For Raiding: Haste comes first. I'm talking about reaching that 20-25% threshold where your rotation feels smooth, where rage generation keeps up with your ability cooldowns, and where you're not sitting there waiting for globals during critical burn phases. After hitting that benchmark, Critical Strike becomes your focus. Why? Mortal Strike hits like a truck on crits. Overpower crits harder. Execute crits can literally remove 18% of a boss's remaining health in one button press. Mastery amplifies Deep Wounds damage, which matters enormously on 8-minute Council fights where that bleed ticks continuously. Versatility sits at the bottom for pure throughput—though the defensive scaling helps when you're progressing and taking avoidable damage.
For Mythic+ Content: Haste skyrockets in priority. Trash packs live 20-30 seconds maximum. You need immediate rage flow to impact damage before everything dies. More globals within that tight window means higher overall contribution. Critical Strike remains strong since one-shotting priority caster mobs with Execute crits makes or breaks fortified weeks. Mastery underperforms significantly because Deep Wounds never reaches full damage potential on targets dying in under 15 seconds.
For PvP Scenarios: Complete paradigm shift. Versatility becomes non-negotiable—that damage reduction prevents you from dying to coordinated 3-second burst combinations in arena. I run 28% Versatility minimum for rated content. Haste still generates pressure through rage flow. Critical Strike creates those game-winning moments where your Execute removes 60% of someone's health bar. Mastery rarely delivers value since arena targets either die quickly or receive constant healing.
Author: Tyler Vance;
Source: canelomobile.com
Stop trusting those outdated guide websites from three patches ago. Spend 10 minutes in Raidbots running Top Gear sims on your actual character. I've seen 45 points of Haste create 4% DPS separation depending on how it interacts with your current tier set and talent selections.
Stat
Raiding Priority
M+ Priority
PvP Priority
Notes
Strength
1
1
1
Your foundation stat—attack power derives from this
Haste
2
1
2
Target 22-25% for smooth global cooldowns and rage flow
Critical Strike
3
2
3
Scales exponentially during Execute phase windows
Mastery
4
4
4
Strong on extended encounters with full Deep Wounds tick duration
The talent system gives flexibility, but certain picks define whether you're functional or frustrating to play. Your class tree needs immediate decisions: Impending Victory for self-healing versus Storm Bolt for another interrupt. Thunder Clap, Cleave, and Sweeping Strikes form your AoE baseline—skip these and you'll contribute nothing on trash.
Your Arms-specific tree focuses on amplifying Mortal Strike damage, enhancing Overpower mechanics, and modifying Execute behavior. Skullsplitter solves rage generation gaps between burst windows. Choosing between Warbreaker and Colossus Smash fundamentally changes your rotation cadence and raid utility profile.
Best Talents for Raiding
Single-target optimization dictates raid talent builds. Warbreaker outperforms Avatar on encounters with predictable damage windows where you can plan 20 seconds ahead. The armor shred also benefits your Unholy DK, Feral Druid, and Rogue teammates—your entire physical damage roster gets a boost.
Fervor of Battle contributes exactly zero value on Patchwerk-style encounters. Replace it with selections boosting Mortal Strike and Overpower throughput instead. Dreadnaught is mandatory—extending your Execute range from 35% to 40% health means spending an extra 45-60 seconds in that elevated damage phase per encounter.
Test of Might rewards precise cooldown synchronization with substantial burst during your priority windows. Battlelord reduces Overpower's cooldown, letting you dump rage efficiently during that crucial 10-second Colossus Smash window.
Multi-target council encounters or bosses with periodic add spawns require keeping Cleave talented without sacrificing your core single-target selections. Sweeping Strikes handles two-target situations adequately without further investment.
Best Talents for Mythic+ Dungeons
Dungeon content demands instant target swapping and consistent AoE threat. Fervor of Battle transforms Whirlwind from filler garbage into legitimate cleave damage—absolutely mandatory here. Hurricane gives you another powerful AoE cooldown for those massive 8-mob pulls your tank loves doing.
Storm Bolt provides interrupt coverage beyond Pummel. In 20+ keystones, proper interrupt rotation determines whether you time the key or brick it on the second trash pack. Shockwave offers AoE stun utility that helps your tank survive those sketchy pulls where three caster mobs start casting simultaneously.
Titanic Throw deserves consideration purely for range flexibility and pull efficiency. Half the optimized dungeon routes require pulling specific mobs from awkward positions—having a ranged option saves 5-10 seconds per pack, which accumulates to 2-3 minutes over a full key.
Defensive talents carry significantly more weight in dungeons versus raids. Die by the Sword remains your panic button, but Defensive Stance can be toggled during dangerous trash combinations—eating 10% less damage dealt to survive is absolutely worth it during Fortified weeks or with certain seasonal affixes active.
Author: Tyler Vance;
Source: canelomobile.com
How to Execute the Arms Warrior Rotation
Arms doesn't follow a rigid rotation. It's a priority system that adapts based on cooldown availability, rage levels, and proc opportunities. Understanding this priority while juggling resources separates the 70-parse players from the 95+ crowd.
Your Opener: Charge in, immediately press Overpower if it's available, apply Rend if you've talented into it, then activate Colossus Smash or Warbreaker. During that armor reduction window, burn rage through Mortal Strike and Overpower. Fire off Bladestorm or Avatar depending on your build. Clean opener execution establishes threat and frontloads damage immediately—critical on Mythic+ trash or raid encounters with burn phases in the first 30 seconds.
Priority Outside Burst Windows: 1. Colossus Smash or Warbreaker whenever available (unless you're deliberately holding for a specific mechanic phase) 2. Overpower when ready and you're sitting below 80 rage 3. Mortal Strike on cooldown 4. Skullsplitter when rage drops below 40 5. Slam as a rage dump above 80 when other abilities are cooling down 6. Whirlwind on three or more targets
Managing Rage: Never cap at 100—you're literally wasting generation. But panic-dumping rage creates different problems. Pool around 65-70 rage before major cooldowns activate so you can execute complete burst sequences without starving halfway through. This feels weird initially because you're deliberately NOT pressing buttons while sitting on resources. But it dramatically improves your burst damage.
Common Mistakes Players Make: Pressing Mortal Strike when Overpower is ready wastes damage—Overpower hits harder per rage spent and comes back faster. Delaying Colossus Smash by even 3-4 seconds costs you total uses over fight duration. Forgetting to apply Rend before burst windows (if talented) loses thousands of Deep Wounds damage. Activating Bladestorm during Colossus Smash instead of spending that debuff window on Mortal Strike and Overpower? You're throwing away 6-8% DPS.
Arms Warrior Tier Set and Bonus Effects
The current tier bonuses fundamentally reshape how you approach burst sequences and rage expenditure decisions. Misunderstanding these mechanics costs you massive damage.
Two-Piece Bonus: Each Mortal Strike increases your damage dealt by 5% for 8 seconds, stacking up to three times. Seems simple. But you need consistent Mortal Strike usage maintaining uptime. During burst phases, that stacking 15% damage buff amplifies your entire toolkit—not just Mortal Strike itself.
Four-Piece Bonus: Overpower gains a chance to reset Mortal Strike's cooldown AND makes your next Mortal Strike deal bonus damage. This introduces RNG into your rotation, but it heavily rewards instant reactions. When that Mortal Strike reset procs, you press it immediately—waiting even one global wastes potential additional procs.
The tier set pushes Haste value even higher since faster Mortal Strike and Overpower usage creates more proc opportunities and better buff uptime. This explains why current Arms builds chase Haste so aggressively compared to previous seasons.
When to Keep Tier vs Higher ilvl: Generally, tier pieces maintain value even 13-18 item levels below non-tier alternatives once you've activated the four-piece bonus. The two-piece alone doesn't justify keeping low ilvl pieces—focus on reaching four-piece completion first, then upgrade individual tier slots as higher versions drop.
Some world-first raiders maintain alternative gear sets with off-tier pieces for ultra-specific scenarios. For 99% of players? Wear your four best tier pieces regardless of exact slot distribution.
Author: Tyler Vance;
Source: canelomobile.com
Best Trinkets for Arms Warriors
Trinket selection substantially impacts your damage output, but optimal choices change based on fight length, target count, and your current gear profile.
Top Passive Options: Stat stick trinkets providing substantial Strength or secondary stats deliver reliable value everywhere. Prioritize ones granting Haste or Critical Strike at high item levels. These require zero management and perform consistently across all content.
Best On-Use Options: Trinkets granting temporary Strength buffs or damage amplification align perfectly with Arms burst windows. The critical consideration is finding ones with cooldowns matching your primary cooldown timers—ideally 1.5-2 minute cooldowns. Three-minute cooldown trinkets create awkward alignment issues unless fight duration allows perfect usage timing.
AoE-Specific Choices: Some trinkets deal split damage across multiple targets or provide cleave mechanics. These excel in Mythic+ but underperform dramatically on single-target raid bosses. Swap trinkets between content types aggressively—a 6% DPS improvement from optimal trinket selection accumulates significantly over complete dungeon runs.
Why Simming Matters: Never blindly trust generic ranking lists without simming your specific character. A trinket that sims 3% ahead for someone else might sim 2% behind for you because of stat allocation differences, talent selections, or tier set interactions. Raidbots makes this process trivial—invest 8 minutes simming before spending Valor upgrades or raid currency.
Avoid trinkets with extended ramp-up requirements or completely random trigger mechanics. Arms excels at controlled burst damage, so trinkets supporting this playstyle outperform unpredictable alternatives.
Arms Warrior Burst Window Optimization
Maximizing damage during burst windows requires proper setup, cooldown synchronization, and clean execution. A perfectly executed burst can represent 35-42% of your total damage in short encounters.
Pre-Burst Setup: Pool rage to 65-70 before initiating burst. Verify Colossus Smash or Warbreaker will be available. If you're using on-use trinkets, confirm they're ready. Position yourself where upcoming mechanics won't force movement during your window.
Burst Sequence: 1. Activate on-use trinkets 2. Cast Warbreaker or Colossus Smash 3. Avatar (if talented) 4. Spam Overpower and Mortal Strike during armor reduction 5. Use Bladestorm after Colossus Smash expires (unless you specifically need fear/stun immunity) 6. Continue normal priority rotation as cooldowns end
Cooldown Stacking Strategy: Arms benefits massively from stacking multiple cooldowns simultaneously. The armor reduction from Colossus Smash amplifies all physical damage, making it the anchor point. Never activate Avatar or Bladestorm without Colossus Smash active unless fight timing absolutely demands otherwise.
Execute Phase Management: Targets dropping below 35% health transform Execute into your primary rage spender. The damage potential here is staggering—one critical Execute can remove 16-22% of remaining boss health instantly. Pool rage before targets enter Execute range, then dump everything. Dreadnaught talent extends Execute range to 40% health, prolonging your time in this powerful phase significantly.
Raid Buff Alignment: Communicate with your raid team about bloodlust/heroism timing. Arms Warriors gain disproportionate benefit from Haste buffs during burst compared to many other specs. When possible, synchronize your cooldowns with bloodlust and other raid-wide damage amplification effects like Dark Soul or Power Infusion.
Most Arms Warriors obsess over gear upgrades when the real performance gap comes from cooldown alignment discipline. Holding your burst for 8 extra seconds to sync with a mechanic phase versus using it on cooldown? That decision-making separates good players from great ones, and it requires fight knowledge plus practice—not item level
— Kelade, Method Warrior Theorycrafter
Arms Warrior PvP Gear and Strategy
PvP demands completely different optimization compared to PvE content. Survivability becomes equally crucial to damage output, and burst windows must account for enemy defensive cooldowns plus diminishing returns on crowd control.
PvP Stat Priority: Versatility dominates your stat priority since it provides both damage increase AND damage reduction. Target 27-32% Versatility minimum in rated arena settings. Haste still matters for maintaining pressure and rage generation between burst attempts. Critical Strike delivers those match-ending Execute crits but ranks below Versatility and Haste. Mastery typically offers minimal value in PvP scenarios where targets rarely live long enough for full Deep Wounds tick value.
Talent Adjustments: Storm Bolt becomes mandatory for additional crowd control and interrupt coverage. Defensive Stance should be readily accessible for toggling during enemy burst attempts. Disarm effects from Duel can completely shut down enemy melee DPS during critical moments—try disarming a Ret Paladin during their wings and watch them panic.
Second Wind provides consistent healing accumulating over longer arena matches—I've had games where it contributed 400k+ healing over 6 minutes. In battlegrounds, Rallying Cry offers raid-wide utility turning team fights. Adjust talents based on bracket (2v2 versus 3v3) and composition—playing with a healer allows more aggressive talent picks than DPS-heavy double DPS setups.
Burst Window Execution: PvP burst requires coordination with teammates. Communicate your cooldown availability and target selection clearly. Chain crowd control setting up kill windows—your partner stuns the healer while you delete their DPS with full burst combo.
Watch for enemy defensive cooldowns before committing full burst. Wasting Avatar and Warbreaker into a Divine Shield or Ice Block leaves you vulnerable with no pressure for 90 seconds. Sometimes the correct play is partial burst (Colossus Smash without Avatar) to bait defensives, then following up with full burst 35 seconds later when they're unprotected.
Defensive Cooldown Usage: Die by the Sword prevents 100% of frontal attack damage for its duration—use it reactively against enemy burst, not proactively. Defensive Stance can be toggled on permanently in battlegrounds where the 20% damage reduction outweighs the 10% damage loss. In arena, toggle it specifically during enemy burst windows, then drop it to maintain pressure.
Spell Reflection requires practice but can completely negate enemy caster burst. Reflecting a Chaos Bolt or Greater Pyroblast back at the caster creates massive pressure swings and often wins games outright. Even reflecting smaller spells interrupts enemy casting patterns and generates rage.
Author: Tyler Vance;
Source: canelomobile.com
FAQ
What stats should I focus on for Arms Warrior this season?
For raiding, push Haste toward 22-25% before diversifying into Critical Strike, then Mastery, with Versatility last. Mythic+ dungeons need even more Haste for rapid burst and rage flow on short-duration pulls. PvP completely inverts this—Versatility becomes your survival stat at 27%+ minimum, followed by Haste and Critical Strike for pressure. Always sim your actual character since stat weights fluctuate dramatically based on your current gear and tier set bonuses.
How does the tier set change my rotation?
The tier set adds stacking damage buffs from consistent Mortal Strike usage and introduces cooldown resets on Mortal Strike whenever Overpower hits. This makes maintaining steady Mortal Strike usage critical and rewards instant reactions when reset procs occur. The four-piece bonus elevates Haste value since more Overpower casts generate more reset opportunities. During burst windows, that stacking 15% damage buff amplifies your complete damage profile, not exclusively Mortal Strike.
Which trinkets should Arms Warriors equip?
Prioritize trinkets aligning with burst windows—on-use Strength trinkets with 1.5-2 minute cooldowns work best. Passive stat sticks providing Haste or Critical Strike deliver consistent value everywhere. For Mythic+ content, consider trinkets with AoE or cleave mechanics since they outperform single-target options on trash pulls. Always sim trinket comparisons for your specific character instead of trusting generic tier lists, since interactions with your stats and tier set significantly alter relative values.
When exactly should I use cooldowns?
Start every burst with Colossus Smash or Warbreaker as your foundation. Activate on-use trinkets immediately before this, then trigger Avatar (if talented) during the armor reduction window. Spam Overpower and Mortal Strike while the debuff remains active. Save Bladestorm for after Colossus Smash expires unless you specifically need fear or stun immunity mechanics. Pool 65-70 rage before initiating burst to prevent rage starvation mid-sequence. In raids, synchronize these cooldowns with bloodlust and other raid buffs whenever fight timing allows.
What talents change between PvP and PvE content?
PvP requires Storm Bolt for extra crowd control, Defensive Stance for surviving coordinated burst attempts, and Second Wind for sustained healing over match duration. Disarm effects from Duel shut down enemy melee DPS during critical windows. PvE focuses purely on damage output—Warbreaker for raid content, Fervor of Battle for Mythic+ AoE damage, and Test of Might for burst amplification. Defensive talent selection differs dramatically—PvP requires constant defensive tools while PvE can sacrifice survivability for throughput.
How do I maximize damage when targets hit Execute range?
Pool rage before targets drop into Execute range (35% health, or 40% with Dreadnaught talented). Once targets reach that threshold, shift to Execute as your primary rage spender instead of Mortal Strike. Continue pressing Overpower on cooldown for rage generation and tier set proc opportunities. Keep using Colossus Smash to amplify your Execute damage significantly. Critical Strike becomes extremely valuable here—one Execute crit can delete 17-20% of remaining target health instantly. Save cooldowns for Execute phase in fights where bosses spend substantial time below 35% health rather than burning them earlier.
Optimizing Arms Warrior means understanding how gear, talents, rotation execution, and cooldown management interact differently across raid encounters, Mythic+ dungeons, and PvP content. The spec rewards players who master burst window timing and adapt their approach based on encounter mechanics and group composition.
Start by establishing proper stat allocation through regular simming—spending 15 minutes weekly in Raidbots prevents costly gear mistakes. Build muscle memory for the core rotation priority system, then layer in cooldown optimization and burst window execution. Adjust talents between content types rather than searching for a universal build that doesn't exist.
The most impactful improvement for most Arms Warriors isn't acquiring that one perfect BiS piece—it's eliminating rotation mistakes, properly pooling rage before burst windows, and aligning cooldowns with encounter mechanics. Master these fundamentals and your performance improves dramatically regardless of gear item level.
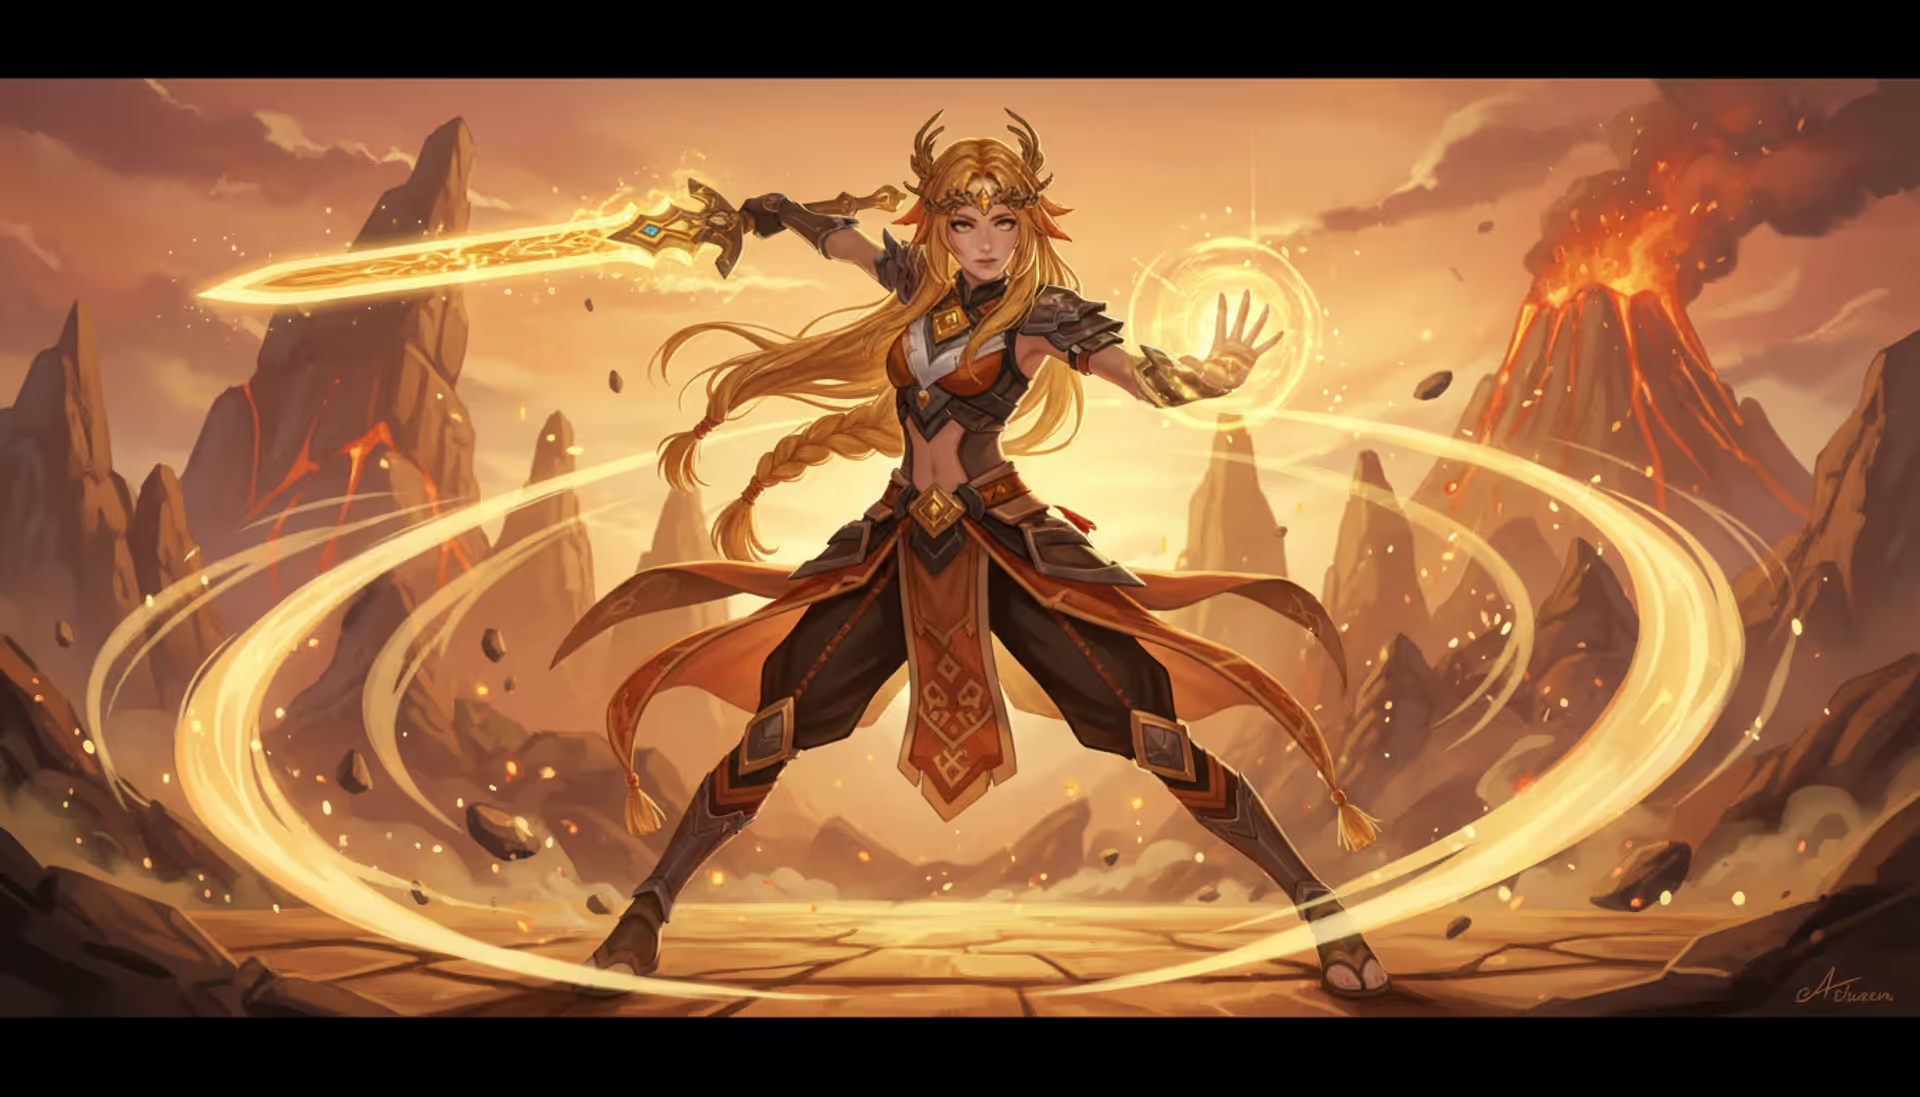
Xilonen is one of Genshin Impact's most versatile Geo supports. This comprehensive guide covers optimal artifact sets, weapon choices, talent priorities, team compositions, and whether to build her as support or DPS, with detailed constellation breakdowns and expert tips
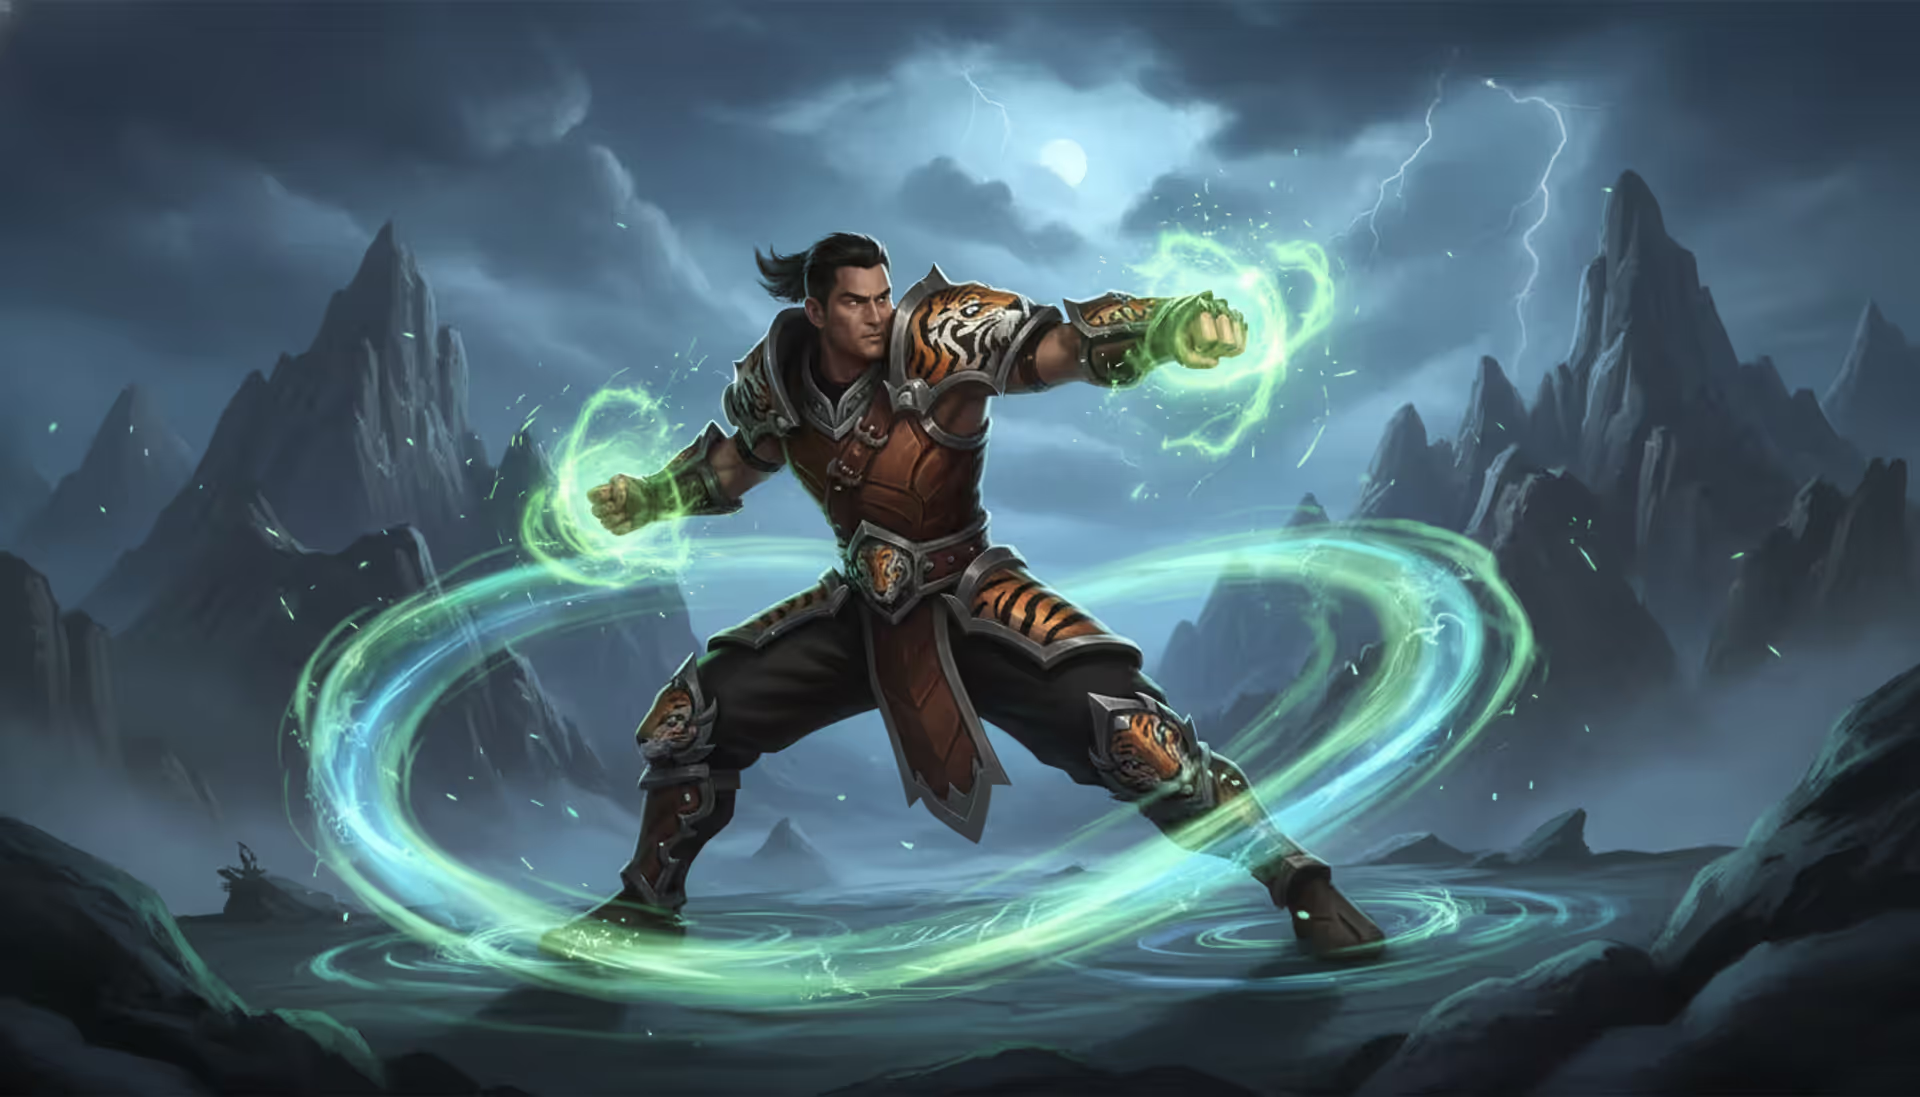
Master Windwalker Monk with this comprehensive BiS guide. Learn optimal stat priorities (Versatility > Crit > Mastery), acquire best-in-slot gear for each slot, understand tier set bonuses, execute the proper rotation, and configure essential WeakAuras for maximum DPS
Tingyun remains one of the most accessible and versatile support characters in Honkai: Star Rail. This guide covers her best light cones, optimal relic builds, team compositions, eidolon value, and advanced tips to maximize her ATK buffs and energy generation across all content
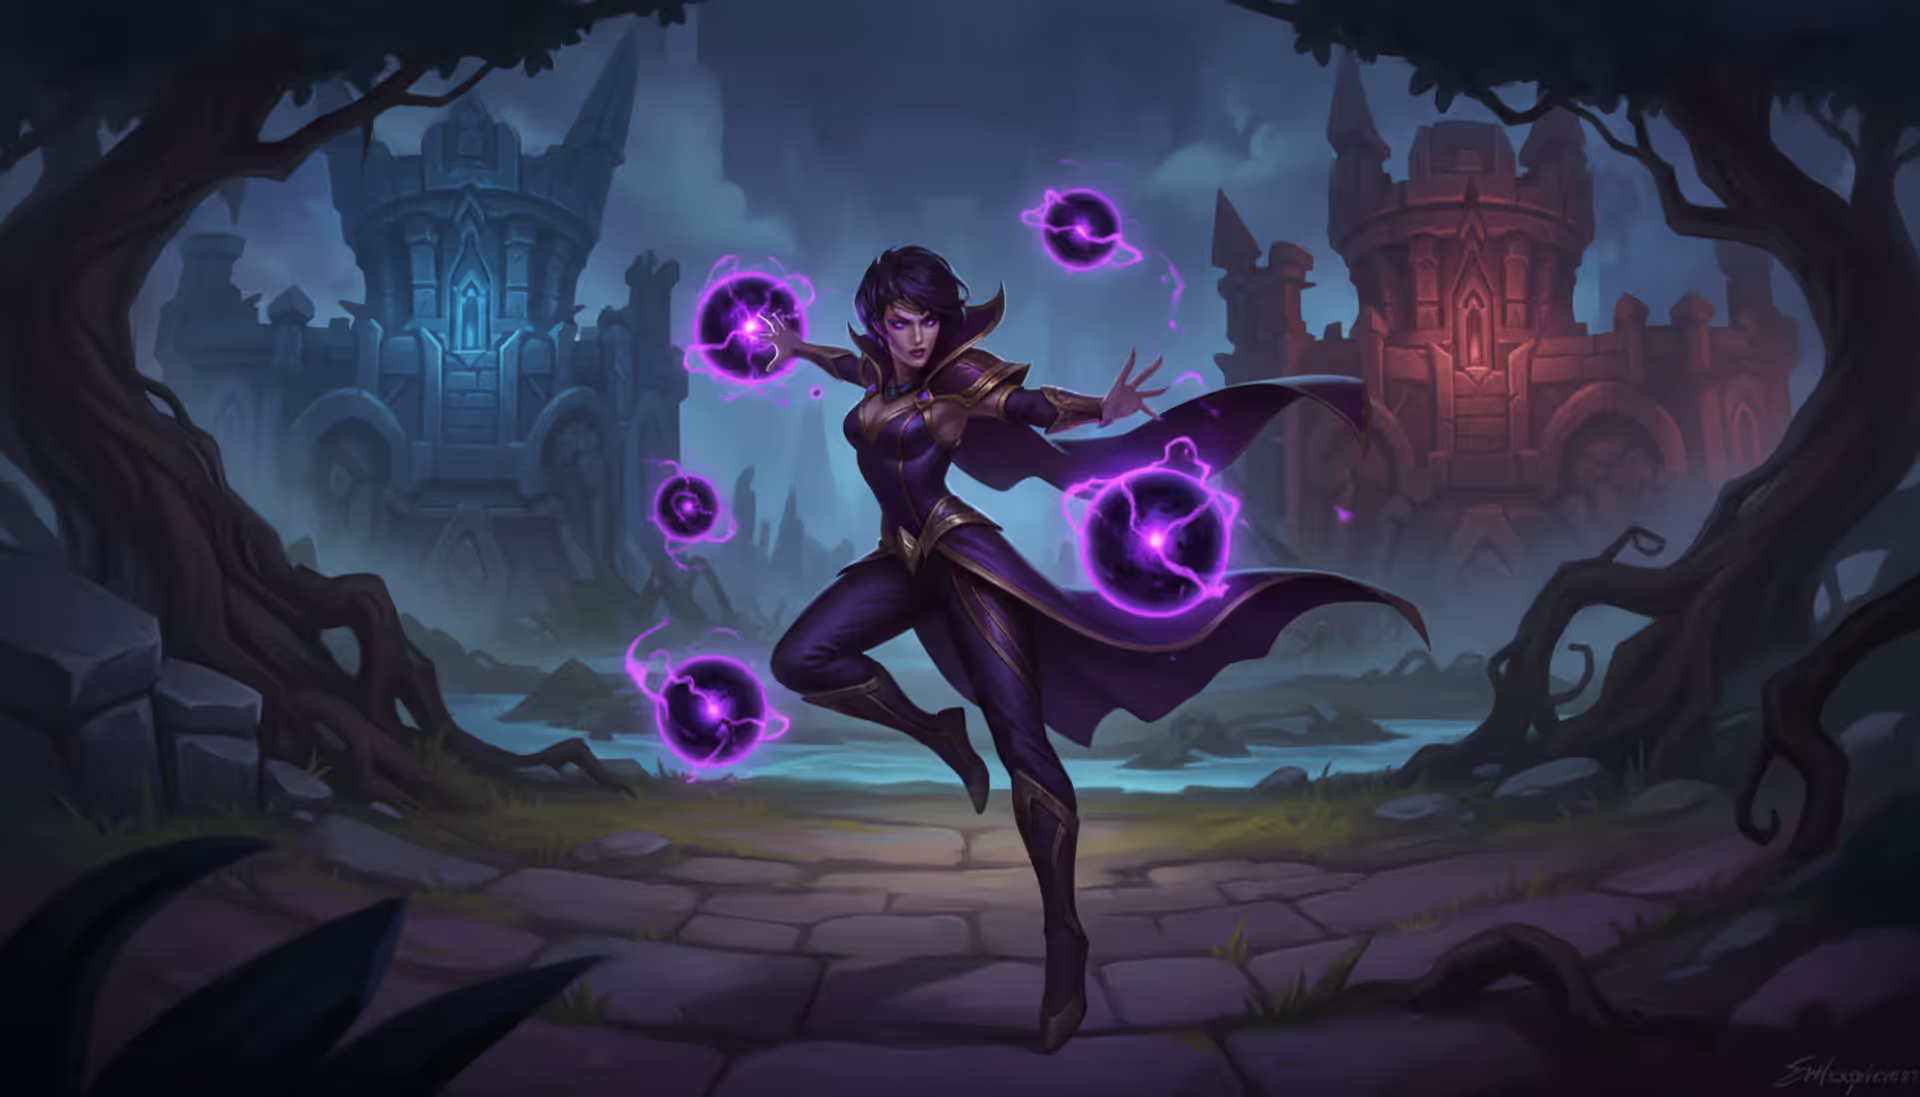
Syndra remains one of the most rewarding mages for players who master sphere manipulation. This comprehensive guide covers optimal rune configurations, core AP builds, essential combos, and matchup strategies that separate good Syndra players from great ones in 2026
The content on this website is provided for general informational and educational purposes only. It is intended to explain concepts related to video games, gaming guides, builds, mobile gaming, multiplayer strategies, and gaming history.
All information on this website, including articles, guides, and examples, is presented for general educational and entertainment purposes. Gameplay outcomes, strategies, and performance may vary depending on player skill, game updates, and platform.
This website does not provide professional advice or guarantee game outcomes, and the information presented should not be used as a substitute for official game documentation or developer guidance.
The website and its authors are not responsible for any errors or omissions, or for any outcomes resulting from decisions made based on the information provided on this website.