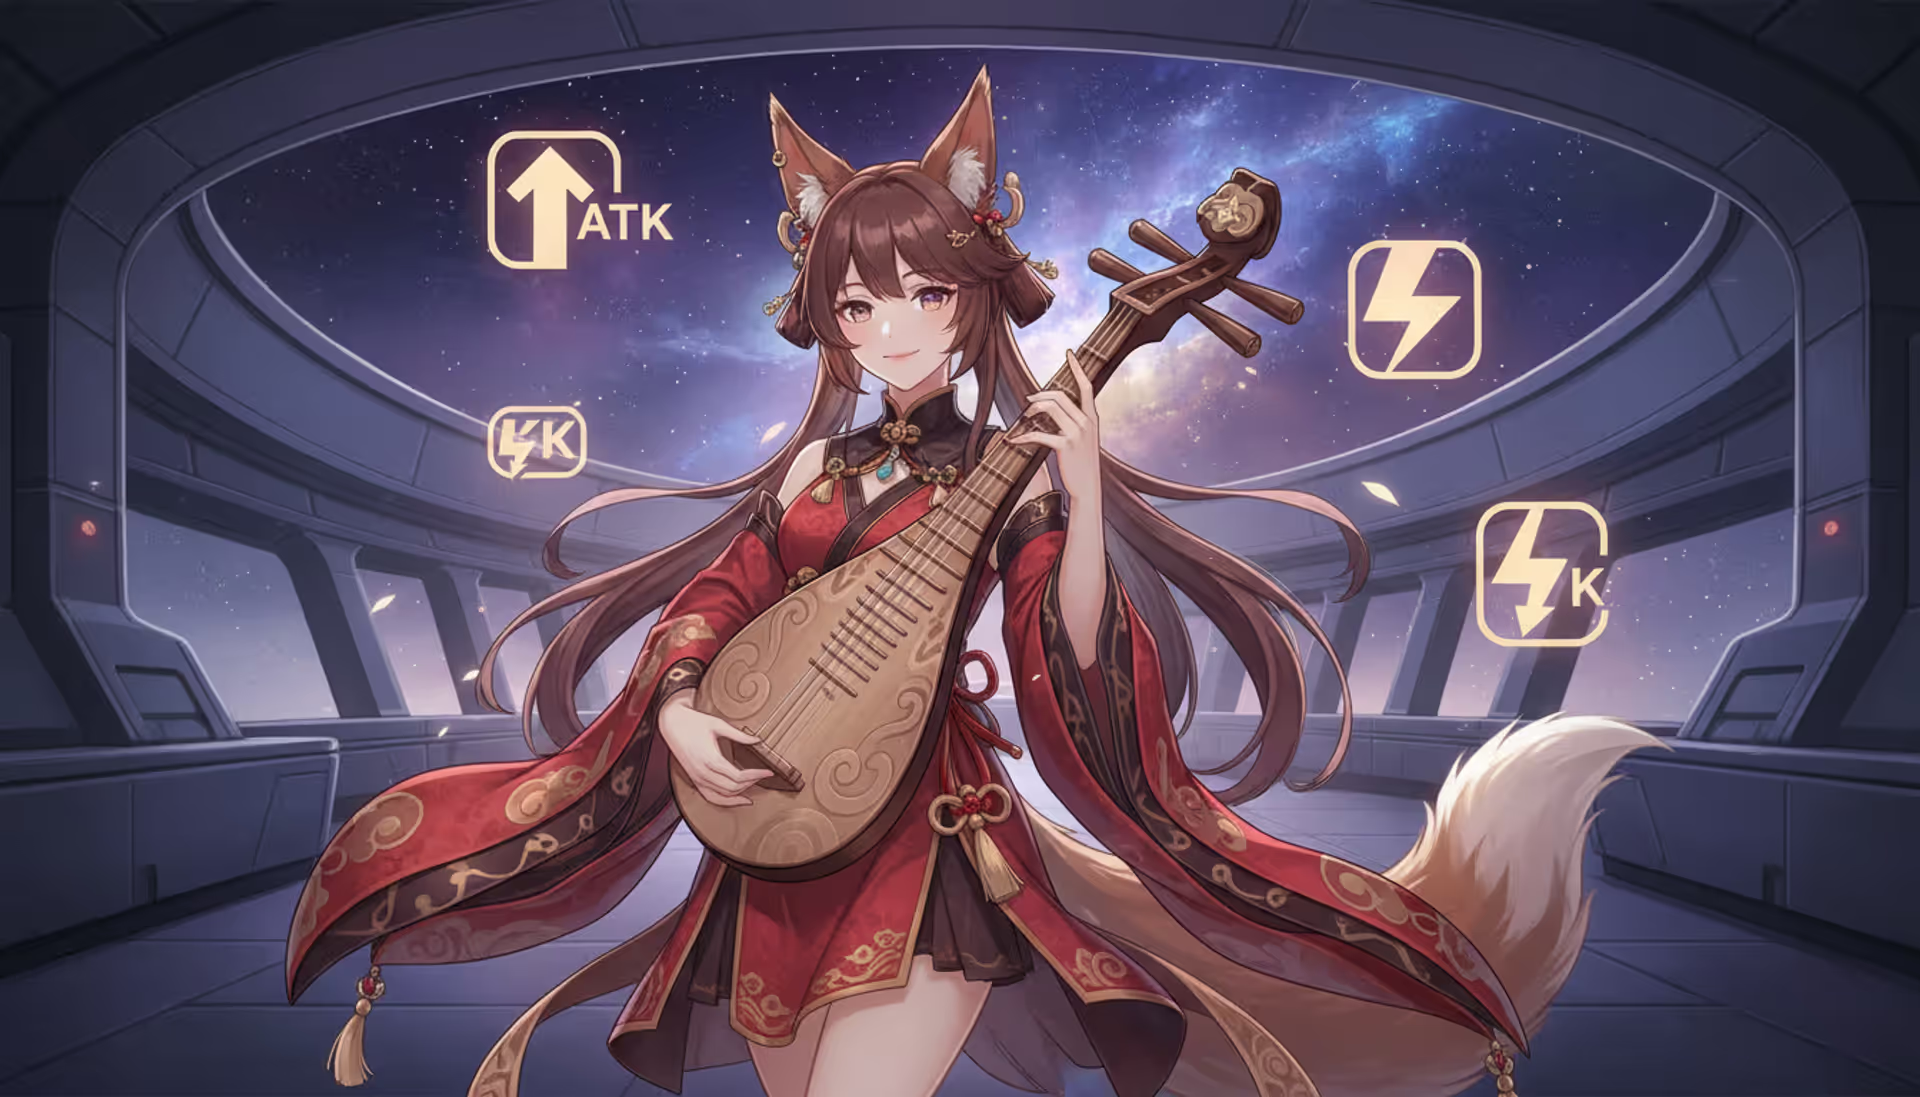
Tingyun character from Honkai Star Rail standing with her lute surrounded by glowing ATK buff icons and lightning energy symbols against a space station background
If you've been playing Honkai: Star Rail for more than a week, you've probably noticed something: Tingyun just works. She's not flashy. She won't carry your account by herself. But slot her into almost any team with an ATK-scaling DPS, and suddenly your damage numbers start looking respectable.
What makes her special? She's a 4-star you'll actually pull (sometimes too many times if you're chasing limited characters), she needs barely any investment to function, and she solves two problems at once—your DPS hits harder AND gets their ultimate back faster.
This isn't another "here's every possible option" guide. I'm going to tell you what actually works, where people mess up, and which upgrades matter versus which ones just sound good on paper.
Best Light Cones for Tingyun
Here's the thing about Tingyun's light cone options—yes, there's a best-in-slot 5-star, but you probably don't need it. The performance gap shrinks fast when you compare a well-built 4-star option to a baseline 5-star.
But Before You Fall (5★) technically wins in a vacuum. At S1, you get 24% DMG bonus and 4 energy every time Tingyun uses a basic attack. Sounds great, right? It is, but only if you're min-maxing endgame content or you happened to pull it while chasing another Harmony character. Don't pull this banner just for Tingyun. The upgrade isn't worth it.
Carve the Moon, Weave the Clouds (4★) is what most people should use. You buy it from the Herta Store with those purple currency things you get from login rewards and events. At S5 (which you'll hit eventually just by existing), it gives 24% ATK and 12% Energy Regeneration Rate right when the battle starts. No conditions, no gimmicks. Tingyun's job is buffing ATK and spitting out ultimates—this cone literally does both. I've cleared all Memory of Chaos stages with this cone on her. It's enough.
Now, Memories of the Past (4★) gets recommended sometimes, and I get why—4 energy when you ult sounds nice. The problem? That Break Effect stat does nothing for Tingyun. You're essentially using a cone with half its stats wasted. Only consider this if you literally have nothing else and it's already S5 from pulling.
Author: Ethan Rowland;
Source: canelomobile.com
Meshing Cogs (3★) is your day-one option. At S5, it gives 12 energy flat when you use your ult. That's it. No ATK, no other benefits. But if you're a new player reading this, slap an S5 Meshing Cogs on Tingyun and don't think about it again until you can afford Carve the Moon. It works fine for story content and early Memory of Chaos.
Light Cone
Rarity
Key Effect
When to Use It
How Easy to Get
But Before You Fall
5★
+24% DMG, energy per basic attack
You pulled it by accident or you're a whale
You're probably not getting this
Carve the Moon, Weave the Clouds
4★
+24% ATK, +12% ERR immediately
Every situation, period
Farm Herta Store for a few months
Memories of the Past
4★
+16% Break, energy per ult
Break teams maybe, or desperation
Random 4-star luck
Meshing Cogs
3★
+12 energy when ulting
First week of playing
You have 47 copies already
One more thing: if your relics already have 130%+ Energy Regeneration Rate from substats, an ATK-boosting cone pulls ahead. But if you're struggling to ult every other rotation? Prioritize energy. Your buffs don't matter if they're not active.
Optimal Relic Sets and Stat Priorities
Relic farming for Tingyun is mercifully straightforward compared to DPS units. You're chasing two stats primarily, and everything else is gravy.
Main Stats and Substats to Target
Body: ATK%. Always. I've seen people run HP% or DEF% bodies because "Tingyun keeps dying." Look, if your Tingyun's dying, that's a team composition problem or a positioning problem (we'll get to that later). Her entire purpose is making that ATK buff as big as possible. Don't sabotage it.
Feet: Speed. Not negotiable. Tingyun needs to move often—more turns means more energy generated, more skills cast, more basic attacks filling the gap. You want at least 134 speed to consistently act before your DPS. If you can push to 143, even better. That's the breakpoint where you lap slower characters.
Planar Sphere: ATK%. Lightning DMG% does absolutely nothing here. Tingyun's personal damage is laughable. We're not building her to deal damage.
Author: Ethan Rowland;
Source: canelomobile.com
Link Rope: This one's actually debatable. ATK% makes your buffs stronger by about 8-10%. Energy Regeneration Rate makes you ult more often. Here's the rule: if you're below 130% total ERR, use the energy rope. You'll feel the difference when you're short 10 energy for an ult right when you need it. Above 130%? ATK% rope scales better. More energy doesn't help if you're already ulting on cooldown.
Substats you want: Speed first, then ATK%, then Energy Regeneration Rate until you hit that 130% threshold, then Effect Resistance if the content throws crowd control at you. That's the priority order, full stop.
Relic Set Combinations
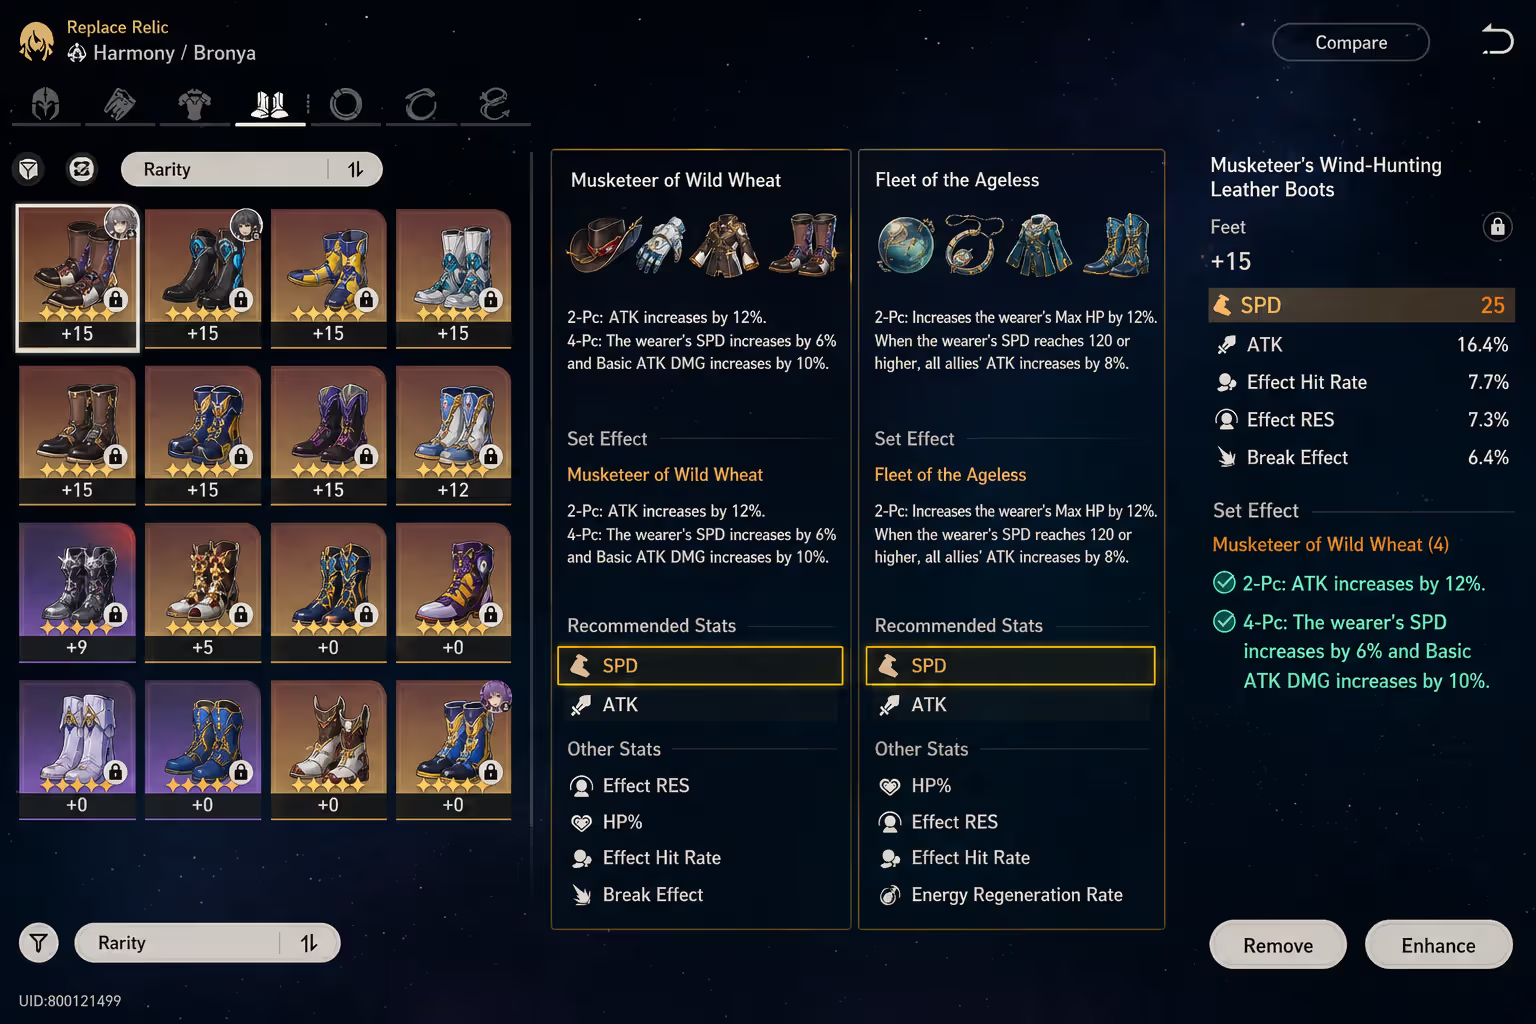
Musketeer of Wild Wheat (4-piece) is the default for good reason. +12% ATK and +10% speed covers both of Tingyun's main needs. No weird conditions to activate, no timing requirements. You equip it, you get the stats. If you're just building Tingyun for the first time, farm this and stop overthinking it.
Messenger Traversing Hackerspace (4-piece) is the alternative when you're running hypercarry teams where your DPS desperately wants more turns. The 4-piece gives +12% speed to everyone when Tingyun ults. The trade-off? You lose that personal ATK bonus from Musketeer, so your buff is slightly weaker. Use this with follow-up attackers or characters like Seele who scale hard from taking more actions.
Mixing 2-piece sets works when RNG hates you and you can't get good 4-piece drops. Musketeer 2-piece (+12% ATK) plus Messenger 2-piece (+6% speed) gives you a little of both. Or Musketeer plus Prisoner (+6% ATK) if you just want the biggest buff possible. Honestly though? Farm for a 4-piece. The downtime while farming is worth the eventual payoff.
Planar Ornaments: Fleet of the Ageless is the obvious pick. +12% HP (helps Tingyun not explode), and once you hit 120 speed (which you will, easily), everyone gets +8% ATK. Free damage for the whole team. The alternative is Sprightly Vonwacq, which gives +5% ERR and advances Tingyun's first turn by 40%. That's useful in Pure Fiction or short fights where you need buffs up immediately, but Fleet is better for sustained content.
Skill Priority and Rotation Tips
Level her ultimate first. Not her skill, her ultimate. I know that sounds backwards since you use the skill way more often, but the ultimate's scaling per level is significantly better. It increases both the ATK buff percentage and that coordinated Lightning DMG hit.
After ultimate, then level the skill. Her basic attack and talent? Level them if you have spare materials and literally nothing else to do. The talent's energy generation barely changes with levels, and her basic attack damage is irrelevant.
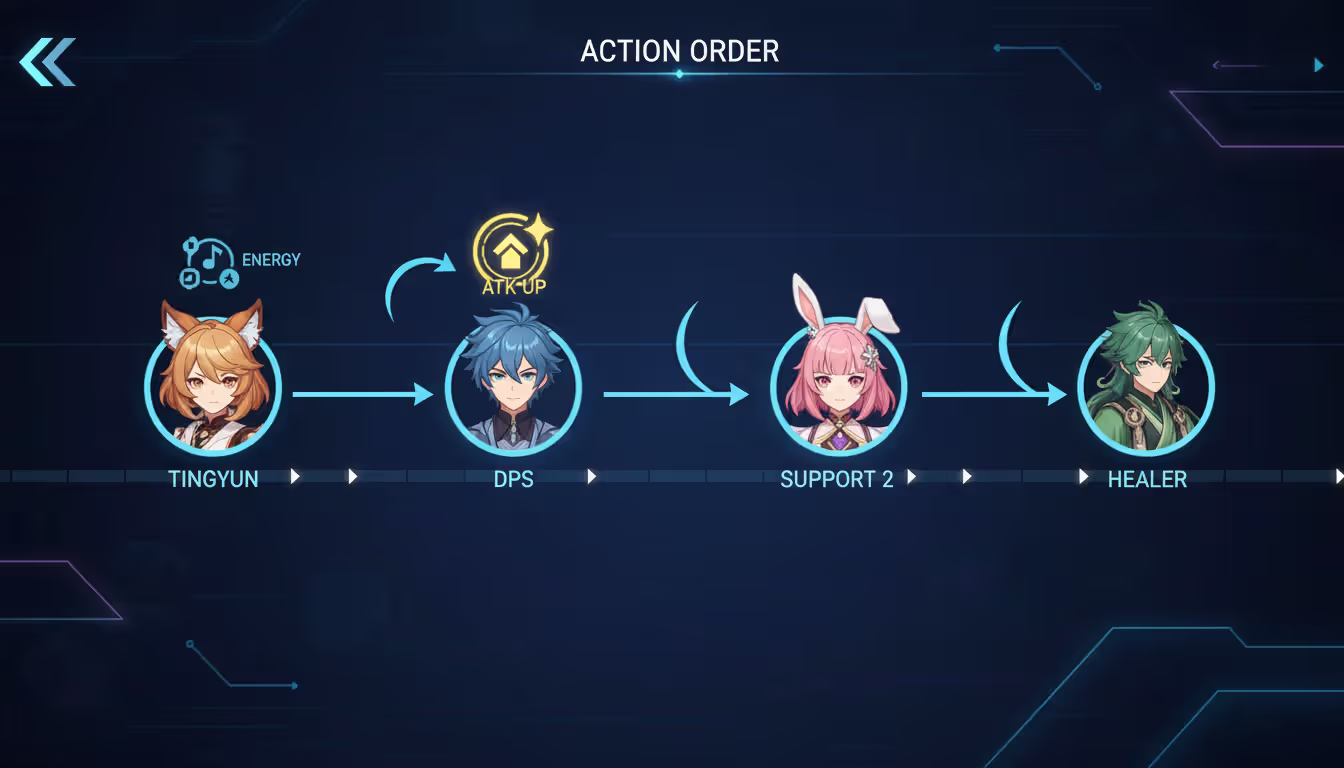
The basic rotation looks like this: Skill on your DPS → Basic attack → Basic attack → Ultimate when ready → Repeat. That's it. You're applying the 3-turn ATK buff with skill, then conserving skill points with basic attacks while the buff's still active. When your ultimate's charged, you fire it at the same DPS for a second layer of ATK buff plus some bonus damage.
About energy generation: Tingyun gets 30 energy from using her skill, 20 from basic attacks, and 5 energy every time her skill target attacks (that's her talent). Her ult costs 130 energy. Do the math: Skill + two basics = 70 energy from her own actions, plus however many attacks your DPS does times 5. If your DPS attacks three times during that window, that's 15 more energy. You're looking at 85 energy per three-turn cycle, which means you need roughly two cycles to ult without external energy help.
This is why pairing Tingyun with multi-hit DPS is so strong. Jing Yuan's Lightning Lord counts every hit. Clara's counters count. Follow-up attacks count. Every attack that traces back to Tingyun's skill target feeds her 5 energy. Play around this and you can ultimate way more often than the base math suggests.
Skill points: Tingyun's actually positive if you rotate correctly. Using her skill every three turns and basics otherwise generates one skill point every two turns. This makes her perfect for skill-hungry DPS like Imbibitor Lunae or Qingque who'd otherwise starve the team.
Tingyun's value isn't just in her buffs—it's in her flexibility. She generates skill points, funnels energy, and scales with investment levels that F2P players can realistically achieve. That accessibility keeps her relevant even when flashier supports release
— Guoba Uncertified
Eidolons Worth Pulling
Most of Tingyun's eidolons are skippable. Let me save you some pulls.
E1 gives her +20% speed for one turn after using her skill. Sounds nice. In practice, it's one extra turn every five rotations, maybe. Doesn't change her performance enough to matter. Skip.
E2 is the only one worth intentionally going for. It adds another +20% ATK buff to your skill target for three turns after you ult. Suddenly your DPS has two ATK buff layers stacking, and the damage increase is noticeable. If you're a low spender who wants to invest in Tingyun, stop here. E0 to E2 is the biggest power jump.
E3 and E5 are the standard "+2 levels to this ability" eidolons. They're fine. They increase buff percentages slightly. Not worth pulling for, but if you get them while chasing other 4-stars, cool.
E4 gives Tingyun 5 energy when her skill target kills something. Completely useless in boss fights (where energy actually matters) and only marginally helpful in trash waves. Skip.
E6 reduces her ult cost from 130 to 110 and buffs the Lightning DMG multiplier. The damage increase is irrelevant, but that 20-energy reduction is legitimately transformative—you can ult every other rotation without an energy rope or specific light cone. Problem is, getting from E0 to E6 on a 4-star is either whale territory or requires absurd luck. Not worth chasing.
Real talk: E0 Tingyun clears all content. E2 is the luxury upgrade that feels good but isn't mandatory. Everything past E2 is diminishing returns unless you're collecting eidolons for fun.
Team Synergy and Best Compositions
Tingyun pairs best with DPS who scale from ATK and attack multiple times per turn. That's the formula. Anyone outside that profile still works with her, just not optimally.
Jing Yuan is her best friend. His Lightning Lord attacks separately from his own turns, and every single one of those hits triggers Tingyun's talent for 5 energy. The ATK buff scales his Lightning Lord damage directly. This duo carried early-game Memory of Chaos for a reason.
Seele loves the ATK buff because her multipliers are already ridiculous—you're just making big numbers bigger. The energy generation helps her ult more, which means more Resurgence procs. Clean synergy.
Imbibitor Lunae (Dan Heng IL) is another premium pairing, though for slightly different reasons. He spams skills constantly, draining skill points, which Tingyun generates. His damage scales from ATK. The energy funneling means more frequent ultimates. It's a complete package.
Qingque is the budget version of this synergy. She's skill-point-hungry, ATK-scaling, and loves frequent ultimates to maintain her enhanced basic attack state. Tingyun solves all three problems and they're both 4-stars, so it's F2P-friendly.
Clara and Yunli are interesting cases. Every counter-attack and follow-up they do counts as an attack for Tingyun's talent. You get energy so fast that you're ulting constantly. Clara's counters scale from ATK, so the buff is directly useful. Yunli's the same deal.
Author: Ethan Rowland;
Source: canelomobile.com
Who does Tingyun NOT work with? Break-focused DPS like Himeko or Sushang get minimal value because their damage comes from breaking enemies, not ATK-scaling hits. DEF-scaling units like some Blade builds literally don't care about her ATK buffs. CRIT-scaling hypercarries benefit from her, but they'd benefit more from CRIT-focused supports like Sparkle.
Some teams that work: - Jing Yuan / Tingyun / Asta / Luocha - Seele / Tingyun / Silver Wolf / Bailu - Imbibitor Lunae / Tingyun / Sparkle / Aventurine - Qingque / Tingyun / Pela / Natasha
Tingyun vs Sparkle for Your Account
People ask this constantly, so let's settle it. Tingyun and Sparkle aren't direct competitors—they enable different DPS types.
Tingyun buffs ATK and generates energy. Universal application, works with most DPS, completely F2P accessible. Sparkle buffs CRIT DMG, generates skill points through a different method, and advances actions. Premium unit, requires pulling, excels specifically with CRIT-scaling hypercarries.
Skill points: Tingyun generates them by using basic attacks. Simple, reliable, works in any team. Sparkle generates them through her talent when allies consume them, creating a loop. If your DPS doesn't spam skills, Sparkle's loop never kicks off. For moderate skill-point teams, Tingyun's method is more consistent.
Energy support: Tingyun directly funnels energy with every attack your DPS makes. Sparkle provides zero direct energy—she just gives your DPS more turns through action advance, which indirectly means more ultimate energy over time. For DPS with expensive ultimates (130+ cost), Tingyun usually enables more ults per fight.
When to use Tingyun: Your DPS scales from ATK. You're early/mid-game. You need skill point generation. Your DPS has an expensive ultimate. You're on a budget.
When to use Sparkle: Your DPS scales from CRIT. You're running hypercarry strategies. Your DPS spams skills. You've got the pulls to spare on a limited 5-star.
Can you use both? Absolutely. Late-game players run them in different teams for different content. Tingyun with Jing Yuan in one Memory of Chaos half, Sparkle with Seele in the other.
Common Mistakes and Advanced Tips
Stop putting Tingyun in the first slot. Some enemy AI patterns target the leftmost or rightmost character more often. Tingyun's fragile. Stick her in slot 3 or 4 and let your tankier characters absorb aggro. Or just run a shielder—Gepard, Aventurine, even March 7th if you're desperate.
Don't recast your skill early. New players see that "Benediction" buff and panic when it has one turn left, so they reapply it immediately. Don't. The buff lasts three turns. Use basic attacks on turns 2 and 3. You're wasting skill points and energy generation otherwise.
Pay attention to what counts as an "attack" for Tingyun's talent. Follow-ups count. Counters count. Multi-hit skills where each hit is separate? Each one counts. I've seen people pair Tingyun with Jing Yuan and complain about energy issues while completely ignoring that the Lightning Lord is feeding her 25+ energy per rotation.
Speed breakpoints matter more than you think. Getting from 130 to 134 speed is whatever. Getting from 134 to 143 doubles Tingyun's turn frequency relative to slower DPS. That's a massive boost to energy generation and buff uptime. Sometimes dumping a little ATK for speed substats is the right call.
Don't waste your ult on random targets. I've seen people ult on their healer or tank because "the energy was full." No. Ult on your DPS. That's where the ATK buff matters, and that's where the coordinated Lightning DMG goes. Every ult on a non-DPS is wasted damage.
Effect Resistance is situational but occasionally critical. If you're in Memory of Chaos and enemies keep freezing or imprisoning Tingyun, preventing her from acting, you lose buff uptime. In those specific fights, 40-60% Effect Resistance from substats makes a huge difference. For general content? Ignore it.
Advanced technique—speed tuning for buff layering: If you're running two supports, speed-tune them so Tingyun acts right before your DPS, then the second support acts right after. Your DPS gets Tingyun's buff → attacks with full buffs → receives the second buff for next rotation. This requires precise speed management (within 5-10 speed of each other) but maximizes buff coverage. Not necessary, but satisfying when you pull it off.
Author: Ethan Rowland;
Source: canelomobile.com
FAQ
Is Tingyun still worth building in the current meta?
Yeah, she is. Power creep exists, obviously—limited 5-star supports do more in specific scenarios. But Tingyun's strength is flexibility. She slots into most teams, needs minimal investment, and solves problems (energy, ATK buffing, skill point generation) that don't go away just because new characters release. I still use her in Memory of Chaos alongside my limited 5-stars.
What is the minimum Energy Regeneration Rate for Tingyun?
You want around 130% total ERR to ult consistently every other rotation. Below that, you'll be sitting at 120 energy right when you need your ult and it feels terrible. Above 150%, you're overcapping—additional ERR doesn't help if you're already ulting on cooldown. At that point, shift stats toward ATK.
Should I use ATK% or Energy Regeneration rope on Tingyun?
ERR rope if you're under 130% total, ATK% rope if you're already above that threshold from substats and light cone. The ATK% rope increases buff strength by roughly 8-10%, which compounds over a full fight. But none of that matters if you can't ult when you need to.
Does Tingyun work well with all DPS types?
No. She's best with ATK-scaling DPS who attack frequently. CRIT-focused hypercarries benefit but not optimally (use Sparkle instead). Break-focused DPS barely care about ATK buffs. DEF-scaling units like some Blade builds get literally zero value. She's versatile, but not universal.
Which eidolon should I stop at for Tingyun?
E0 is completely functional for all content. E2 is the best power-per-eidolon upgrade and the stopping point if you're a low spender willing to invest. E6 optimizes energy but costs way more than it's worth. Stop at E0 unless you're deliberately building her as a passion project.
Can Tingyun replace Sparkle in Hypercarry teams?
Depends on the DPS. Jing Yuan? Sure, Tingyun's arguably better. Seele or Imbibitor Lunae? Sparkle usually wins because CRIT DMG scaling matters more. Tingyun generates skill points more reliably, Sparkle enables bigger burst windows. They're not 1:1 replacements—you pick based on DPS type and team needs.
Tingyun's appeal is pretty simple: she works. Not in the "technically functional" way where you can force any character to clear content with enough investment. She genuinely performs well with reasonable gear, fits into most teams that run ATK-scaling DPS, and doesn't demand premium resources you'd rather spend on limited 5-stars.
Build her with speed and ATK, aim for 130% ERR as your baseline, max her ult first, and pair her with DPS who attack often. E0 handles everything the game throws at you. E2 is nice but optional. Skip anything past that unless you're swimming in copies.
She's not going to define the meta or revolutionize your account. But she'll make your DPS hit harder and ult more often, which is exactly what a support should do. Sometimes that's enough.
Xilonen is one of Genshin Impact's most versatile Geo supports. This comprehensive guide covers optimal artifact sets, weapon choices, talent priorities, team compositions, and whether to build her as support or DPS, with detailed constellation breakdowns and expert tips
Master Windwalker Monk with this comprehensive BiS guide. Learn optimal stat priorities (Versatility > Crit > Mastery), acquire best-in-slot gear for each slot, understand tier set bonuses, execute the proper rotation, and configure essential WeakAuras for maximum DPS
Syndra remains one of the most rewarding mages for players who master sphere manipulation. This comprehensive guide covers optimal rune configurations, core AP builds, essential combos, and matchup strategies that separate good Syndra players from great ones in 2026
Sona support excels through scaling, aura management, and positioning. Learn the best runes, item builds, ability sequence, lane strategies, and ADC synergies to dominate bot lane and teamfights
The content on this website is provided for general informational and educational purposes only. It is intended to explain concepts related to video games, gaming guides, builds, mobile gaming, multiplayer strategies, and gaming history.
All information on this website, including articles, guides, and examples, is presented for general educational and entertainment purposes. Gameplay outcomes, strategies, and performance may vary depending on player skill, game updates, and platform.
This website does not provide professional advice or guarantee game outcomes, and the information presented should not be used as a substitute for official game documentation or developer guidance.
The website and its authors are not responsible for any errors or omissions, or for any outcomes resulting from decisions made based on the information provided on this website.